

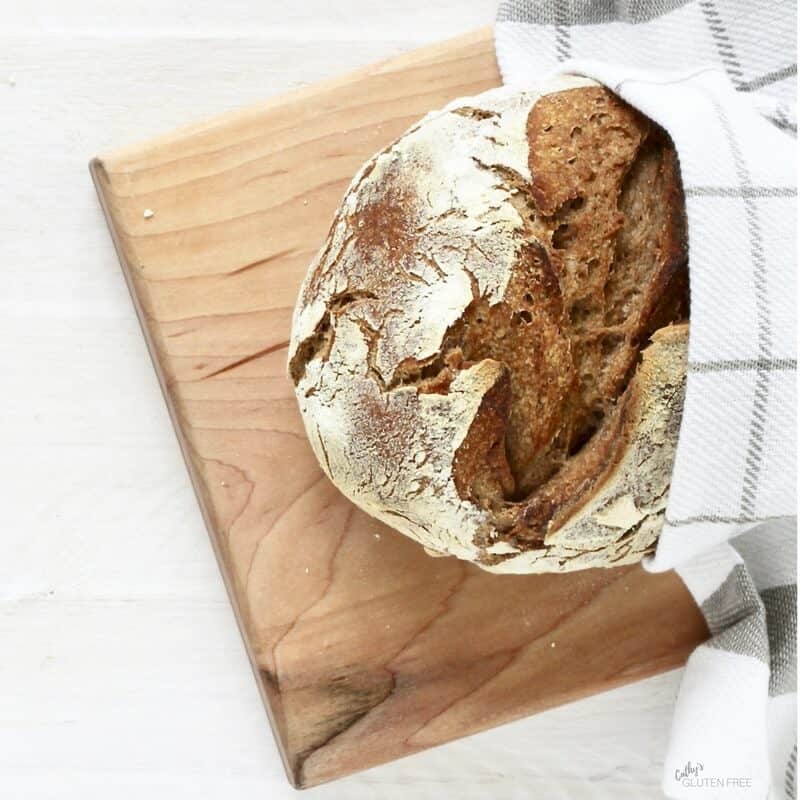
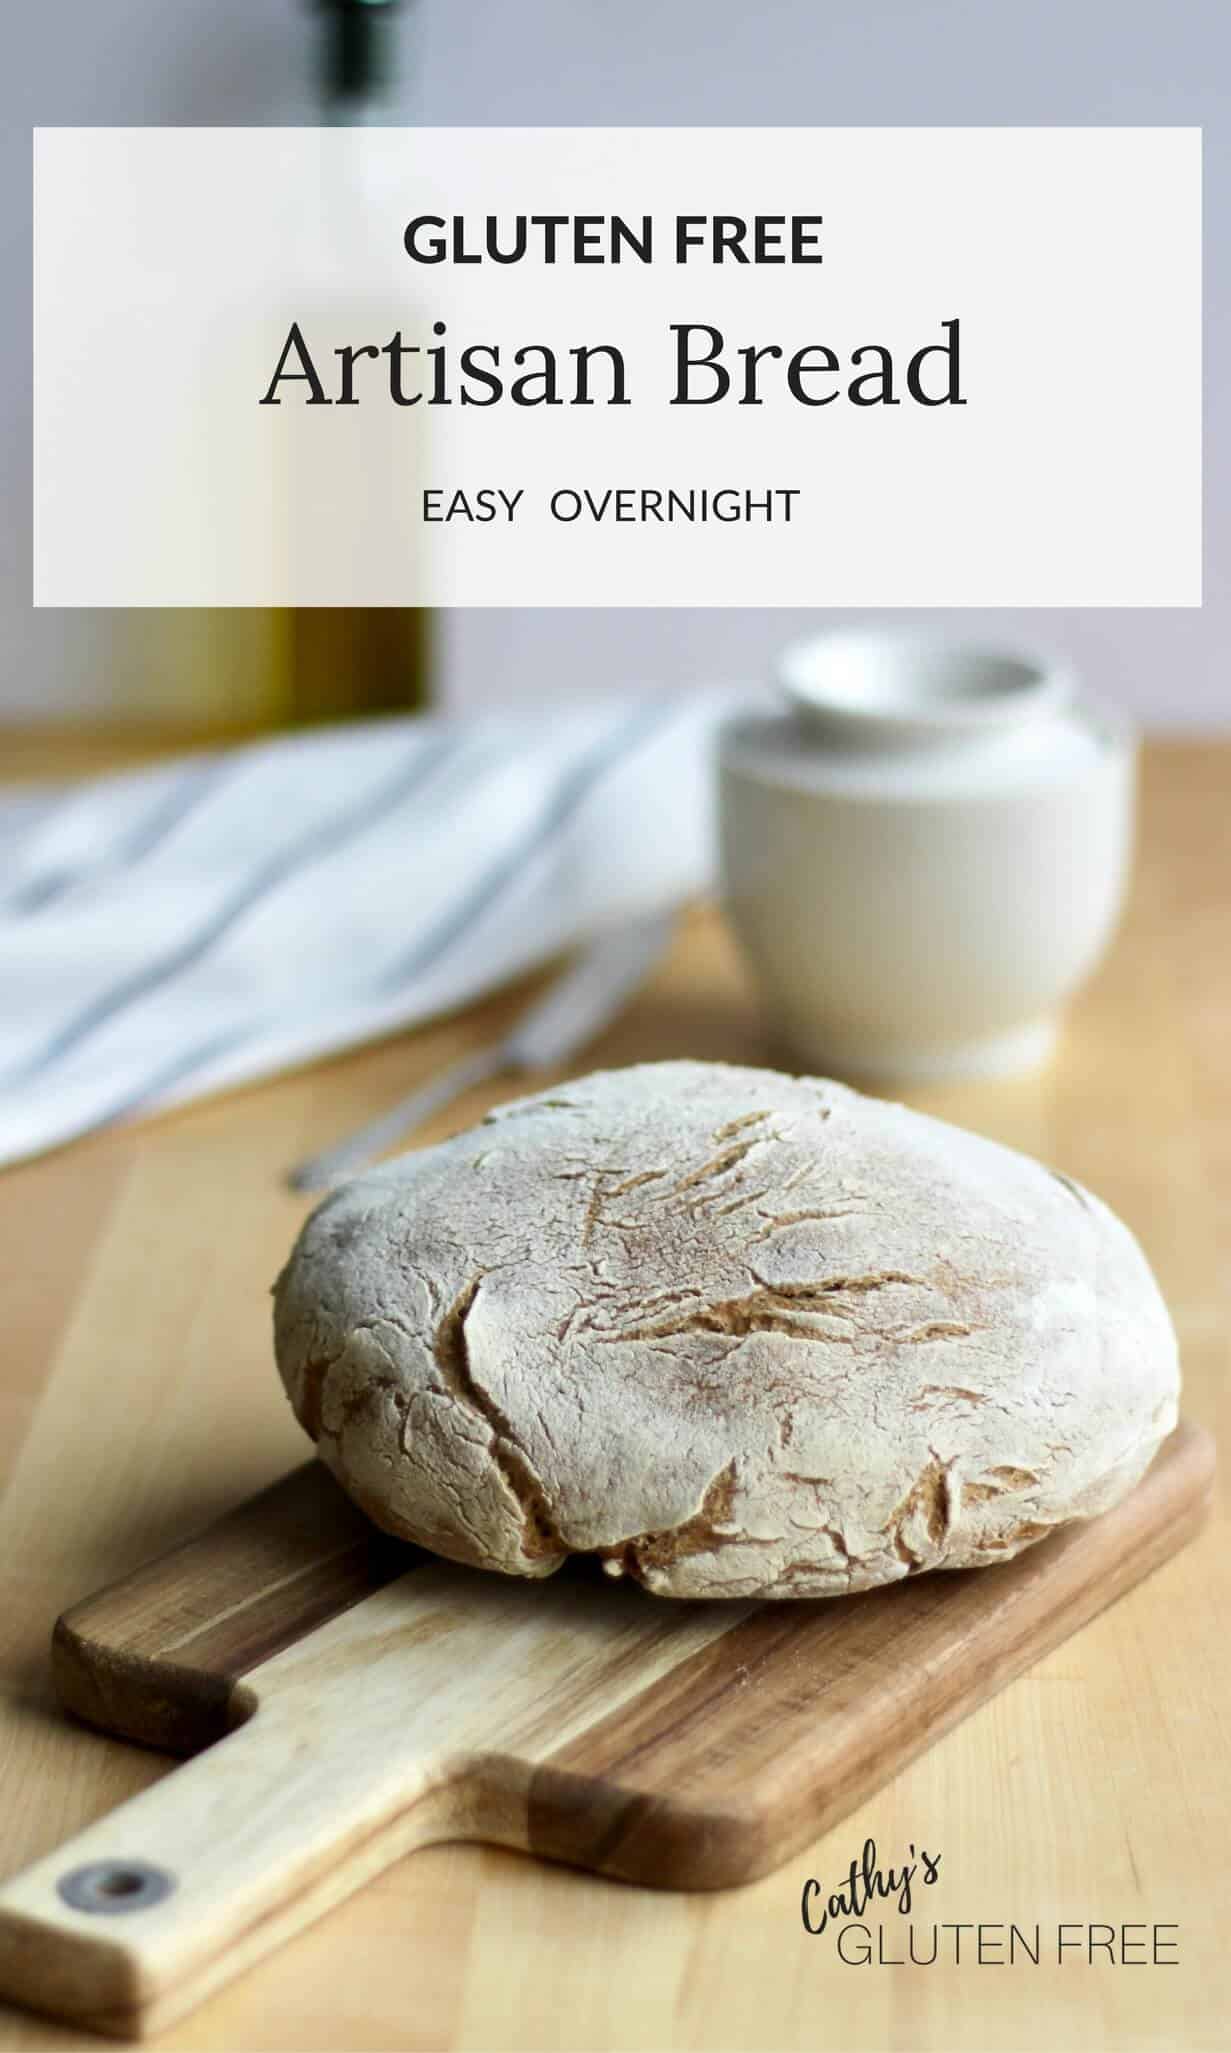
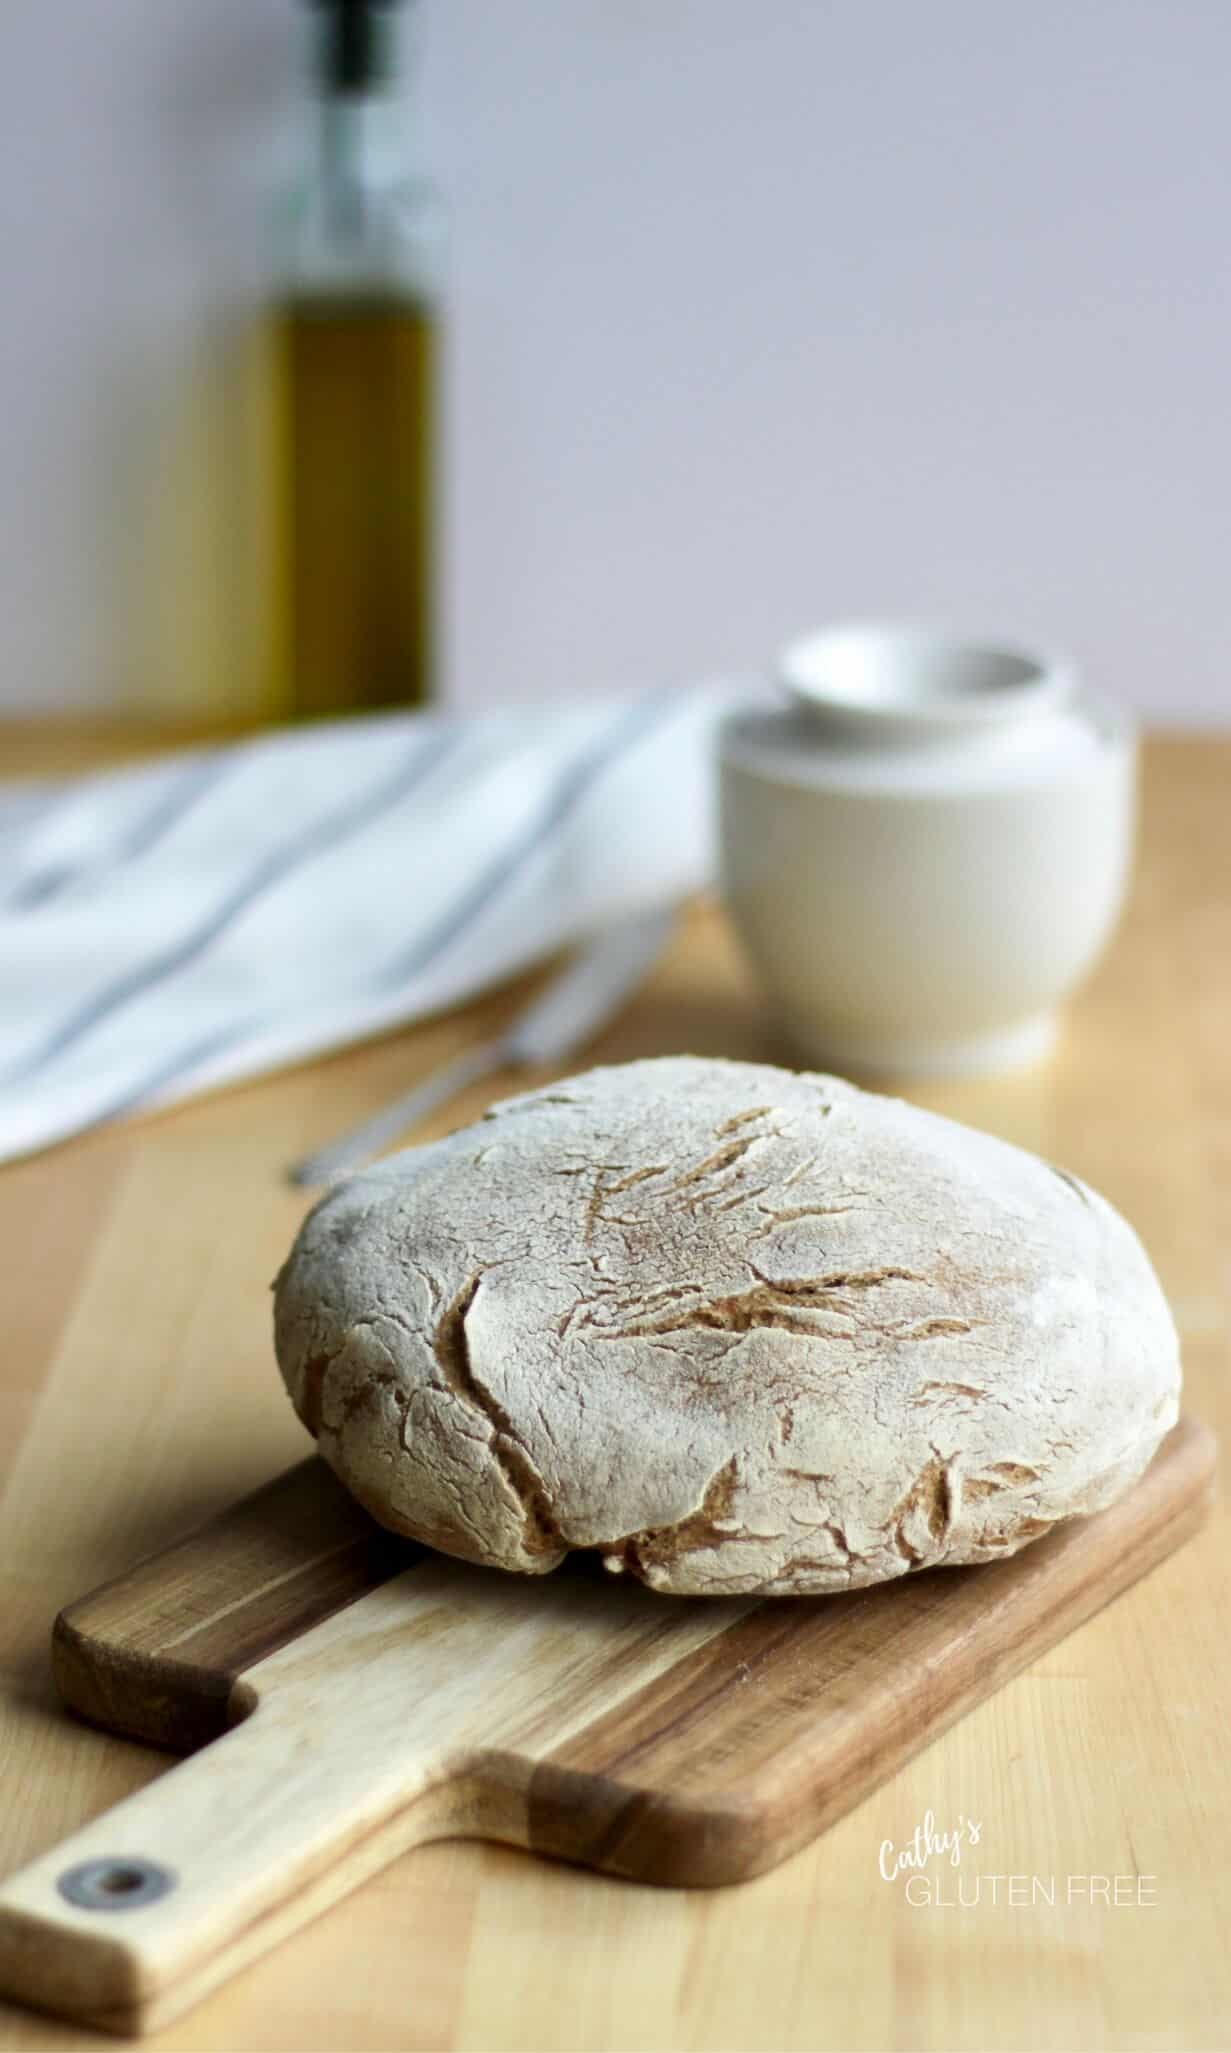
This Simple, Crusty, Artisanal Gluten-Free Bread is easy to mix up. Let the batter rest overnight and bake it in cast cast-iron at a high temperature. The resulting texture is hearty and the taste slightly reminiscent of sourdough, depending on how long you have let the dough rest.
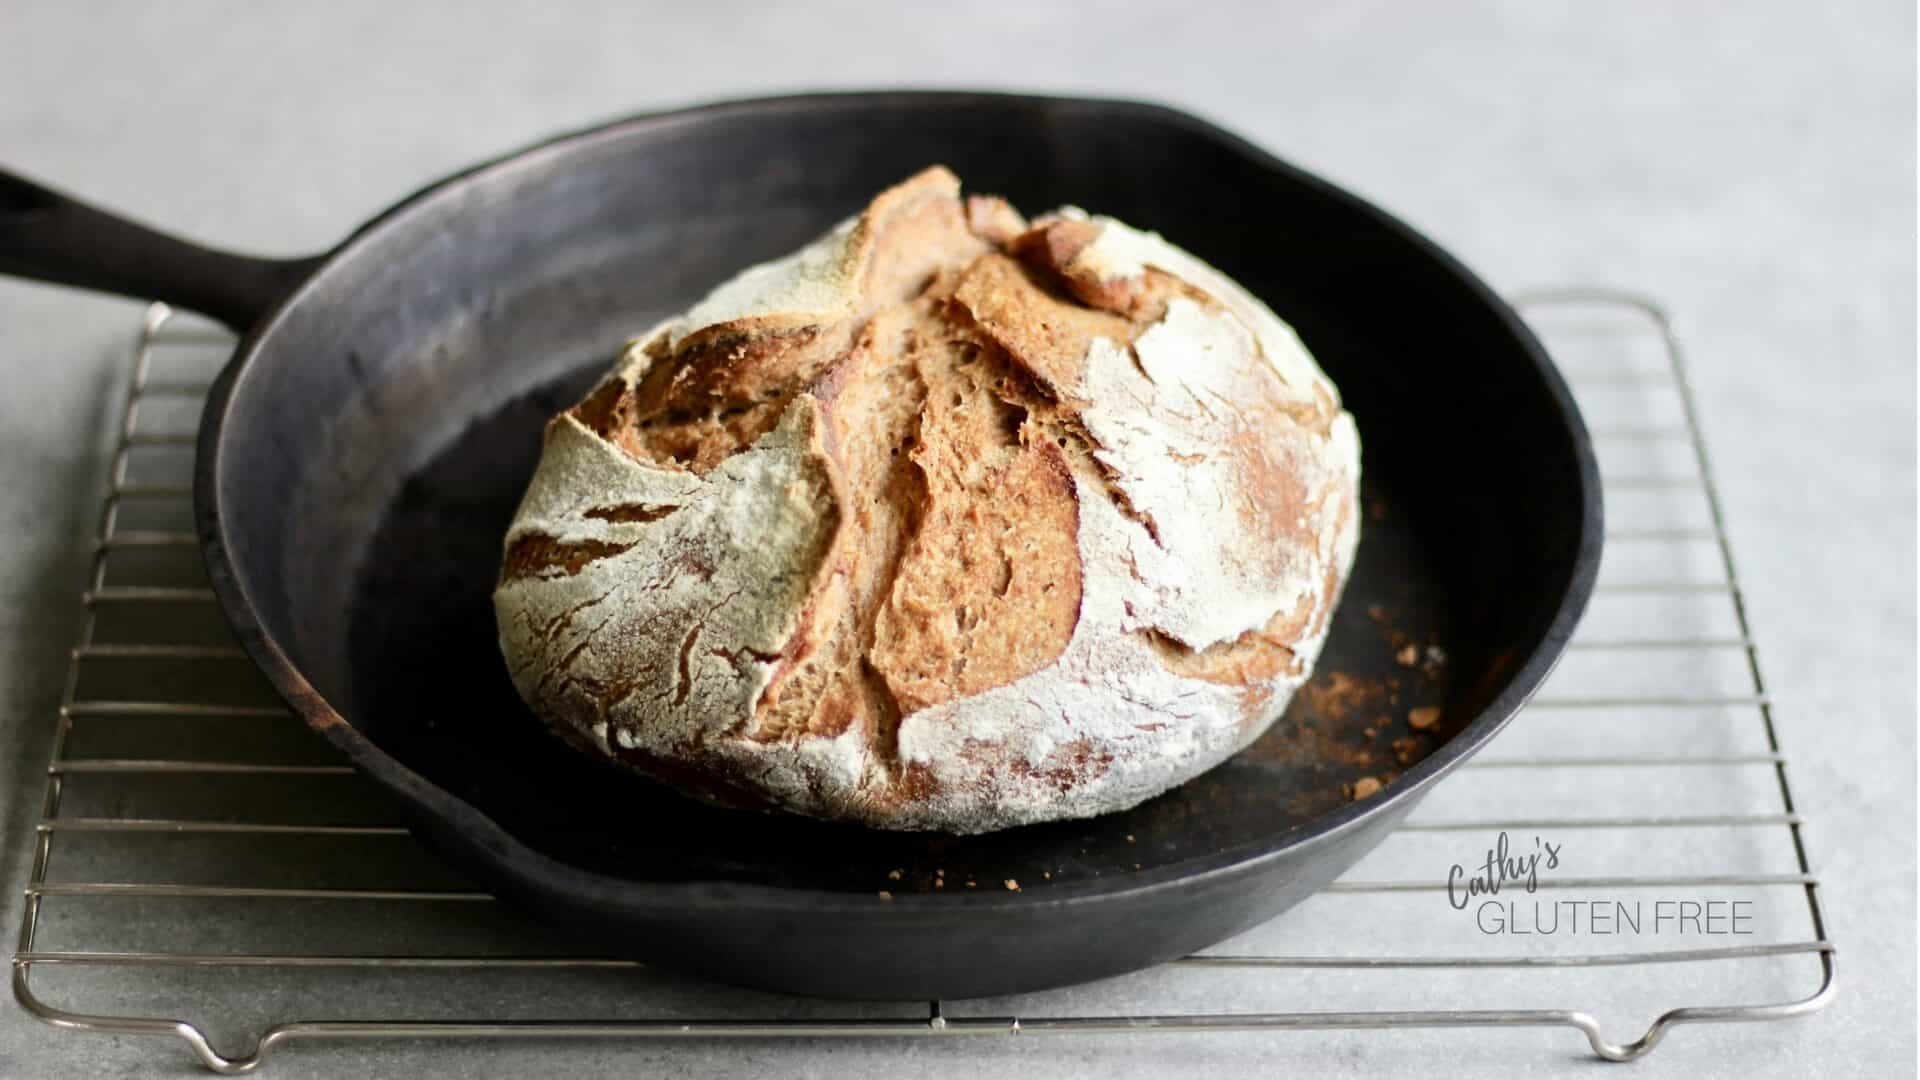
If you don't have an enamelled French oven, you can use two cast-iron skillets.
This is not your usual homemade bread. The preparation method is different, omitting the laborious kneading stage. It's easy to make and amazing to eat!
It has taken me a while to create this gluten-free version of the old classic loaf, but I'm finally happy with the result!

Enameled Cast Iron Pots
Now if you don't own a beautiful enameled cast-iron pot with a lid, don't despair. I made mine with two cast-iron frying pans before I had my Dutch oven. You'll see the second one in the video below.
Gluten Free Bread
Naturally, our gluten-free version takes more ingredients than the wheat one. Gluten-free flours are just like that. It takes a special combination to make your bread good. Believe me, I tried many! These are the ones that I feel make the best bread with the fewest ingredients.

Yeast
I used instant yeast in my trials. To learn more about working with yeast, read Gluten Free Yeast Bread Tips.
Water Temperature
Water temperature is important when you're working with yeast. You should be able to dip the inside of your wrist into it and barely feel it. If your water is too hot, it will kill the yeast. If it's too cold, the yeast won't do its best work.
Kneading or Not?
This recipe is long on sitting and short on working. Doesn't that sound good! I found that my KitchenAid stand mixer did the work for me, but if you don't have one, you can make the bread by hand. I think the gluten-free bread likes a little more kneading (mixing) than its wheaty cousin requires. Either way, you don't have to knead this one as much as you would other homemade breads.
Plan ahead to make this. Mix up your ingredients, let the batter sit overnight, and enjoy your amazing creation the next day!
You might also enjoy this easy gluten-free sorghum bread, Gluten-Free Brioche, Gluten-Free Bagels, or a completely grain-free loaf of white sandwich bread. Gluten-Free Garlic Bread Sticks are fun and well-loved!
Recipe
Gluten Free Artisanal Bread
Equipment
- Cast iron pot
Ingredients
- 1 cup organic sorghum flour
- 1 cup tapioca flour
- ½ cup teff flour
- ½ cup millet flour
- ⅓ cup organic cornstarch
- 1 tablespoon xanthan gum
- 2 teaspoons sea salt
- ½ teaspoon instant yeast
- 1 ½ cup warm water 105 - 110 degrees Fahrenheit
Instructions
- Combine all ingredients. A stand mixer will do this job with ease. The dough doesn't need to be kneaded, though, just well combined. Cover with plastic, and let sit overnight at room temperature.1 cup organic sorghum flour1 cup tapioca flour½ cup teff flour½ cup millet flour⅓ cup organic cornstarch1 tablespoon xanthan gum2 teaspoons sea salt½ teaspoon instant yeast1 ½ cup warm water
- Stir dough down and shape into a round loaf. Set it in a floured towel, and allow to rise 2 hours.
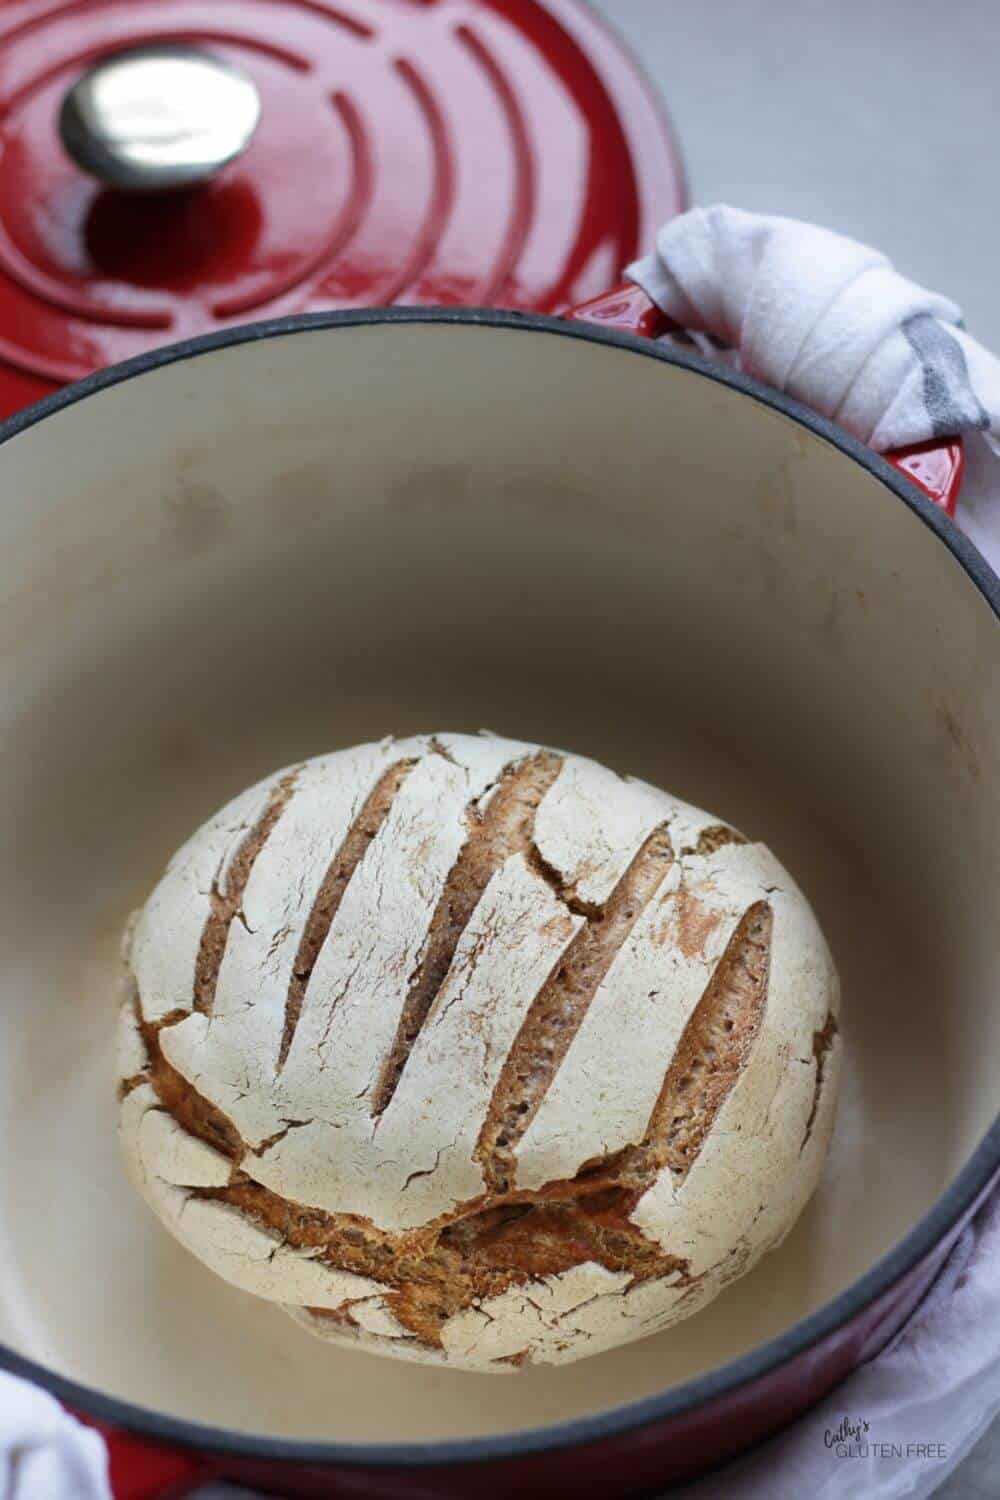
- Preheat oven to 450 F with a cast iron pot and lid inside.
- Remove the hot pot from the oven. Gently roll the dough into it. Cover with the hot lid and bake 30 minutes.
- Uncover. Continue baking for another 30 minutes.
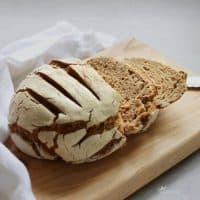
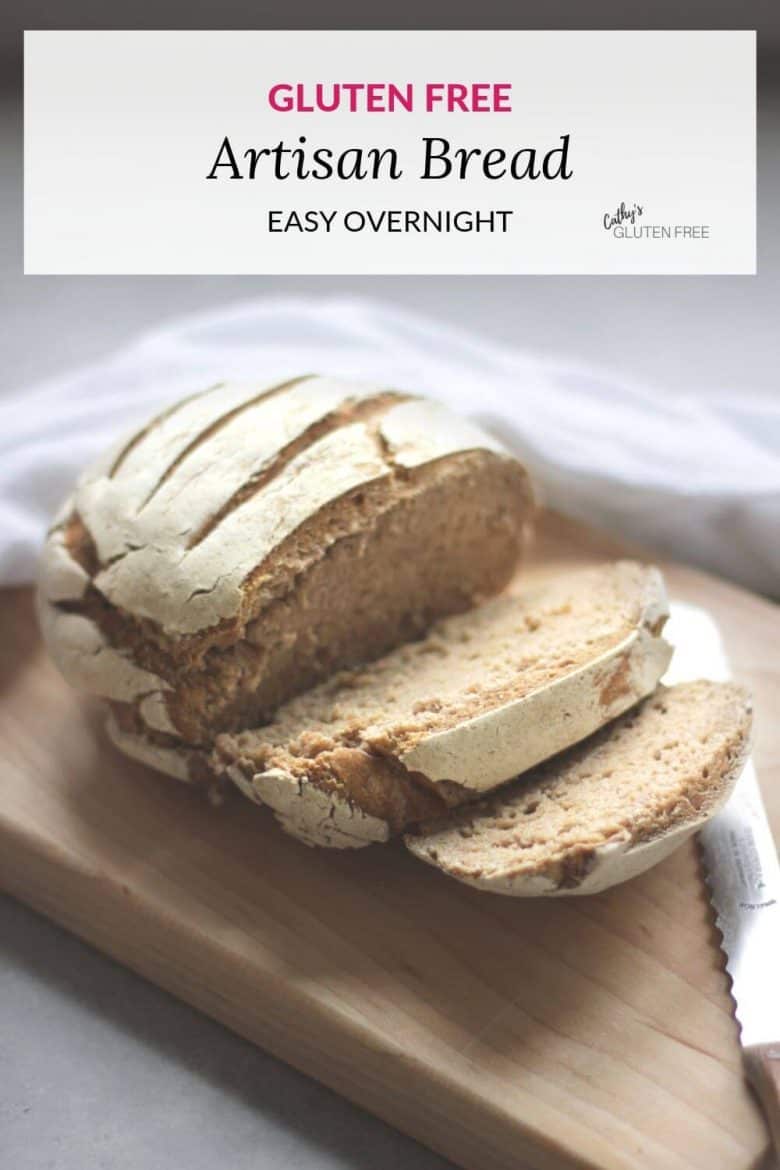
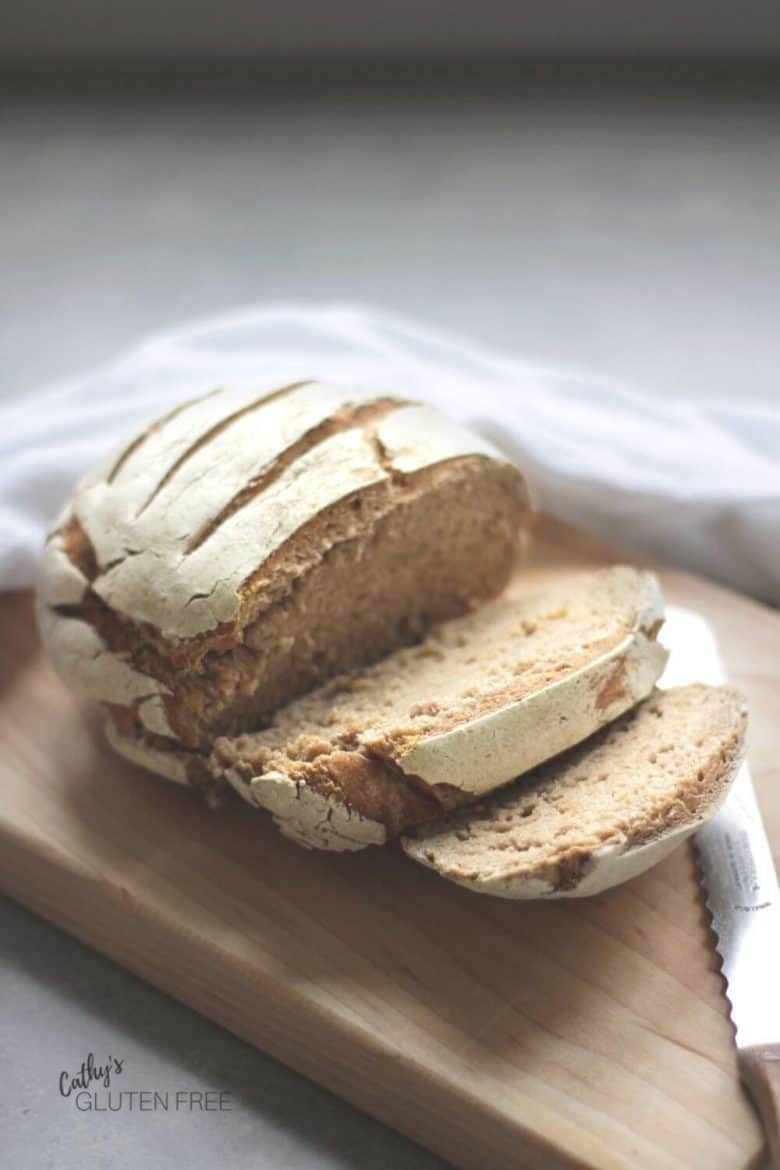
- Remove to cool. Then slice.
Video
Nutrition

Erin Lee says
This recipe worked out beautifully for me! Thanks Cathy for a fabulous recipe I’ve made several times.
Cathy Brak says
Thank you, Erin! I’m so happy to hear it!
MC says
Dying to try this recipe but don't have cast iron pot or frying pan. Would a preheated pizza stone work?
Cathy says
I haven't tried making this bread with a pizza stone, but I think it should work fine as the bottom for the bread to sit on. You need to be able to cover the bread for the first half of baking, though. Perhaps a casserole dish turned upside down over it would work. Let me know how it turns out for you.
Cathy says
Yes, the xanthan gum is important for proper texture.
While you don't need to be extremely precise with rising time, you wouldn't want to leave it for several extra hours, especially for the second rising.
Tina Jordan says
Hi Cathy,
This looks so tasty! Great job!
I suppose the Xanthan Gum is important?!
🙂
I tried without it and failed miserably haha. Is there such a thing as letting it rise for too long? I want to get it right.:-D
Thank you!
Nicole says
Damn, Cathy, you nailed this! Big props to you! Gluten free bread is always a lengthy experiment, but you make it look easy. Truly awesome job! Great recipe!
Cathy says
Thank you, Nicole! It was a lengthy experiment, but I'm happy to share the results for those who will benefit.
Shareba says
I haven't had much luck with gluten-free baking, but this loaf looks so good! The fact that it can be made in the mixer without much kneading is a bonus!
Cathy says
For sure! This bread takes time, but it's not very labour-intensive.
Karen M Budd says
I made this recipe and the crust came out great, I love the sourdough taste, the only thing that could be improved is the texture of the middle. It is rather dense, not much air holes. Any suggestions on how to change that?
Thanks
Karen
Cathy says
I'm so happy that the crust and taste of your bread turned out well! For the texture in the middle, maybe your dough needs to be mixed more. While this method doesn't require several minutes of kneading as a traditional yeast bread would, the batter does need to be completely mixed, so that it's smooth. A warmer place for the two-hour rising period might help, too. Also, be very careful when you transfer the dough to the pan that it doesn't get flattened at all. I hope that at least one of these tips solves your problem.
Karen Budd says
I also wonder what the difference is between letting is sit out overnight and then letting it rise for 2 hours the next day? It all seems the same to me. Let me know of any differences between the two.
Thanks!
Cathy says
Thank you for your question. I can see now that the instructions were confusing. The overnight resting period is for the dough, presumably still in the mixing bowl. Then, it gets shaped into a loaf for the second, two-hour rising period. The dough is punched down between the two risings. I've edited the recipe to hopefully make this clearer.
Karen Budd says
That is good to know about the rising. I guess the issue for me is that it's not rising at all.... any tips?