
Gluten-Free Garlic Bread Sticks are nicely seasoned, crispy little sticks that I can't stop eating! And, they're free from dairy and all grains! When I served them to my family, who don't necessarily avoid gluten, they were very well received!
Jump to:

Because our children, who are grown with families of their own, all live far away from us, we don't see them often. Last weekend, we rented an Airbnb house in Kansas City, Missouri, so we could be together. Charlie and I drove down from Canada and met up with the others there. I had lots of these Gluten Free Garlic Bread Sticks left over from recipe testing, so I brought some with me.
One evening we made spaghetti, an old family favourite, for dinner. As is my custom, I simply cooked gluten-free pasta for everyone. They bought some frozen, sliced garlic bread to toast in the oven. I also heated up a separate baking sheet of these Gluten Free Garlic Bread Sticks and offered them to everyone. People liked them so much that I heated up a second painful!
Step-by-Step Instructions

- After separating the eggs and preheating the oven, whisk the flours, xanthan gum, garlic powder, salt, baking powder, and baking soda together.

2. In a large, clean bowl, beat the egg whites until they stand up in stiff peaks. Set aside.
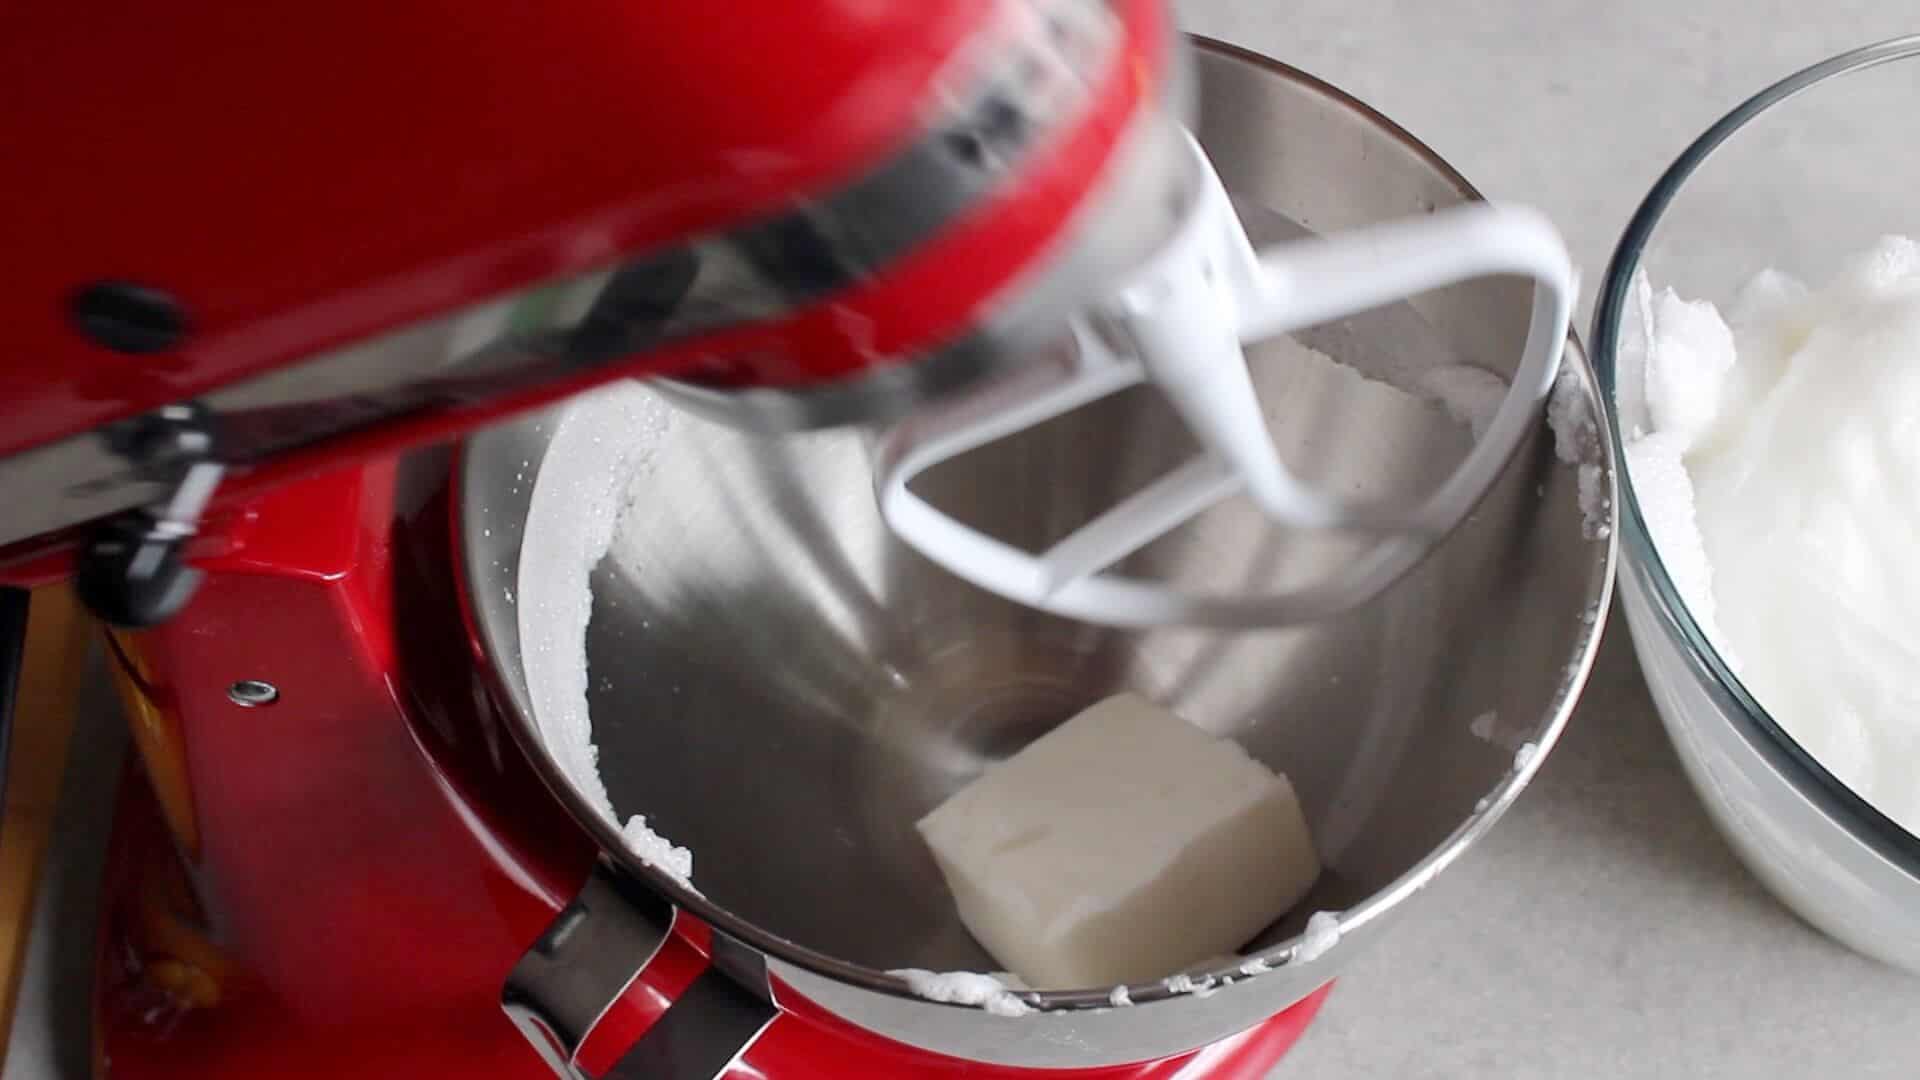
3. In a separate bowl, or the same one with the egg whites removed, beat the lard until it's creamy.
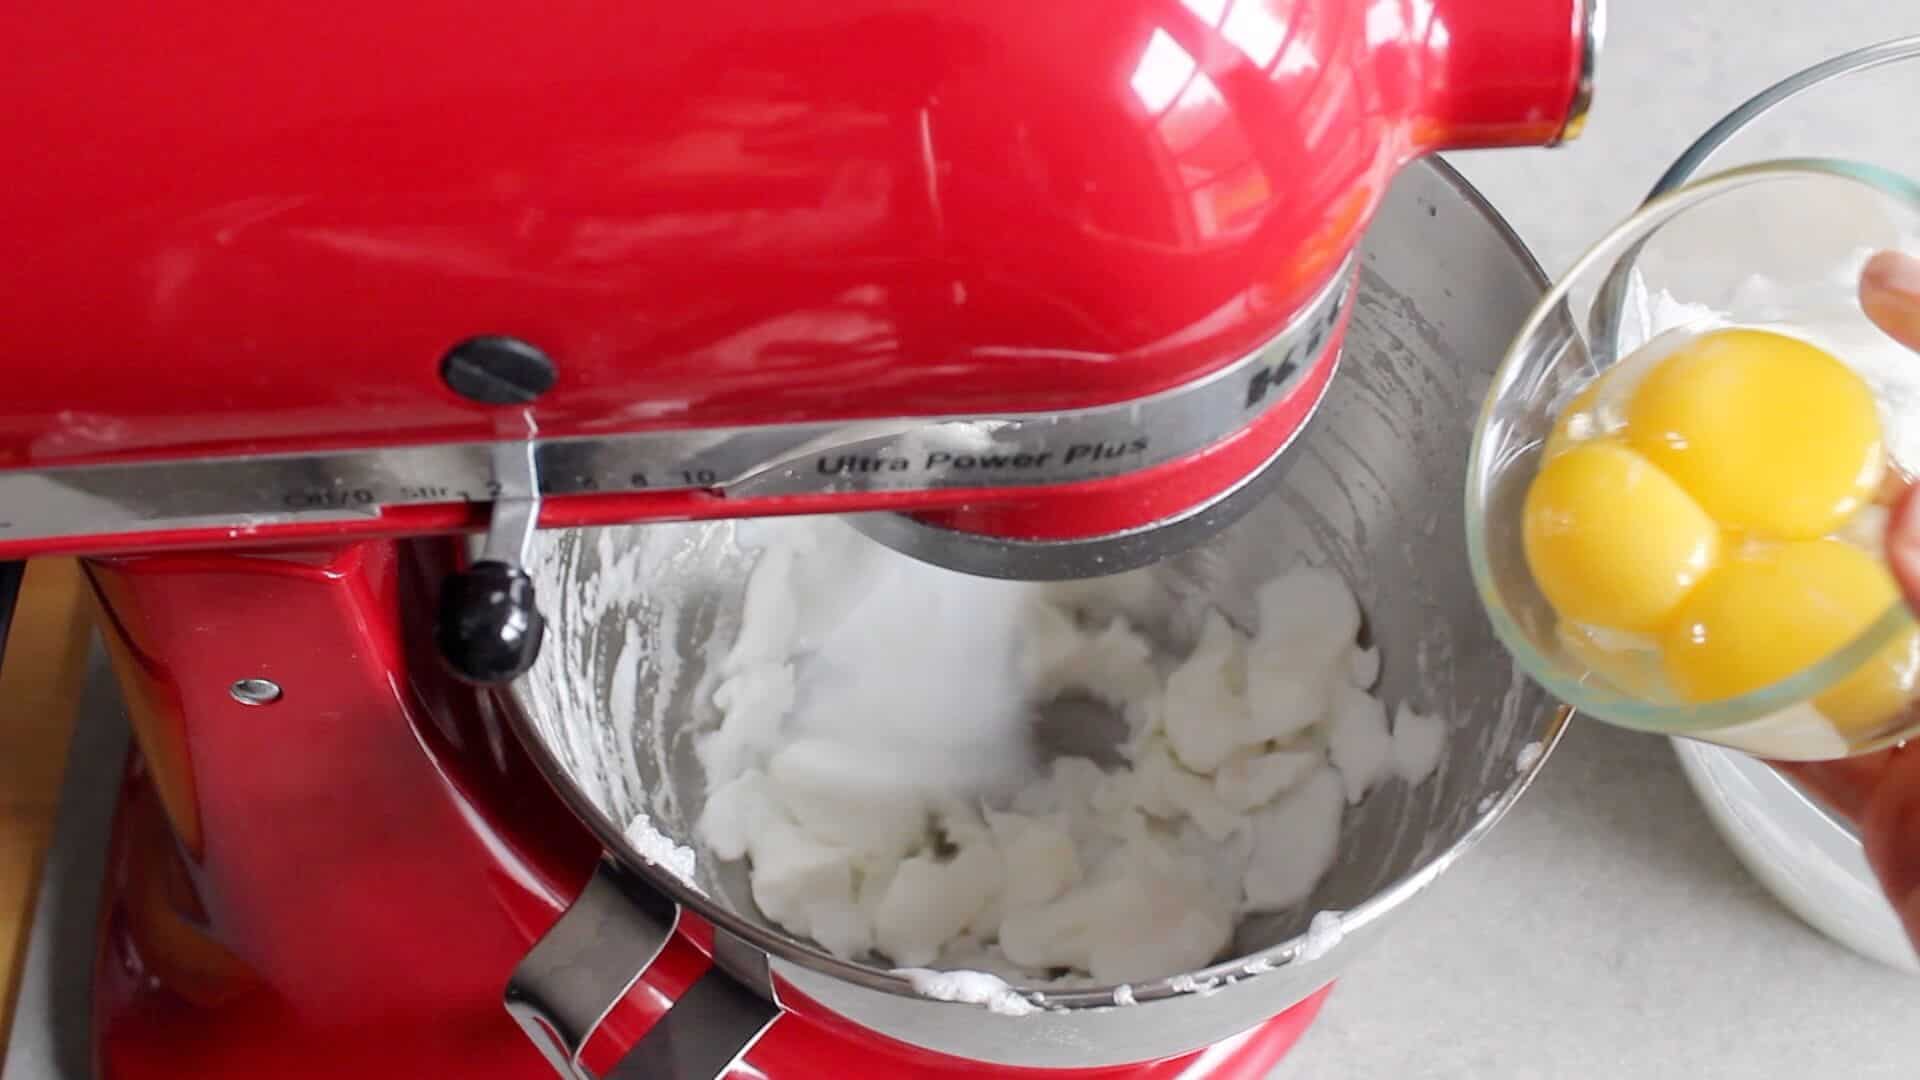
4. Add the three egg yolks and continue beating.
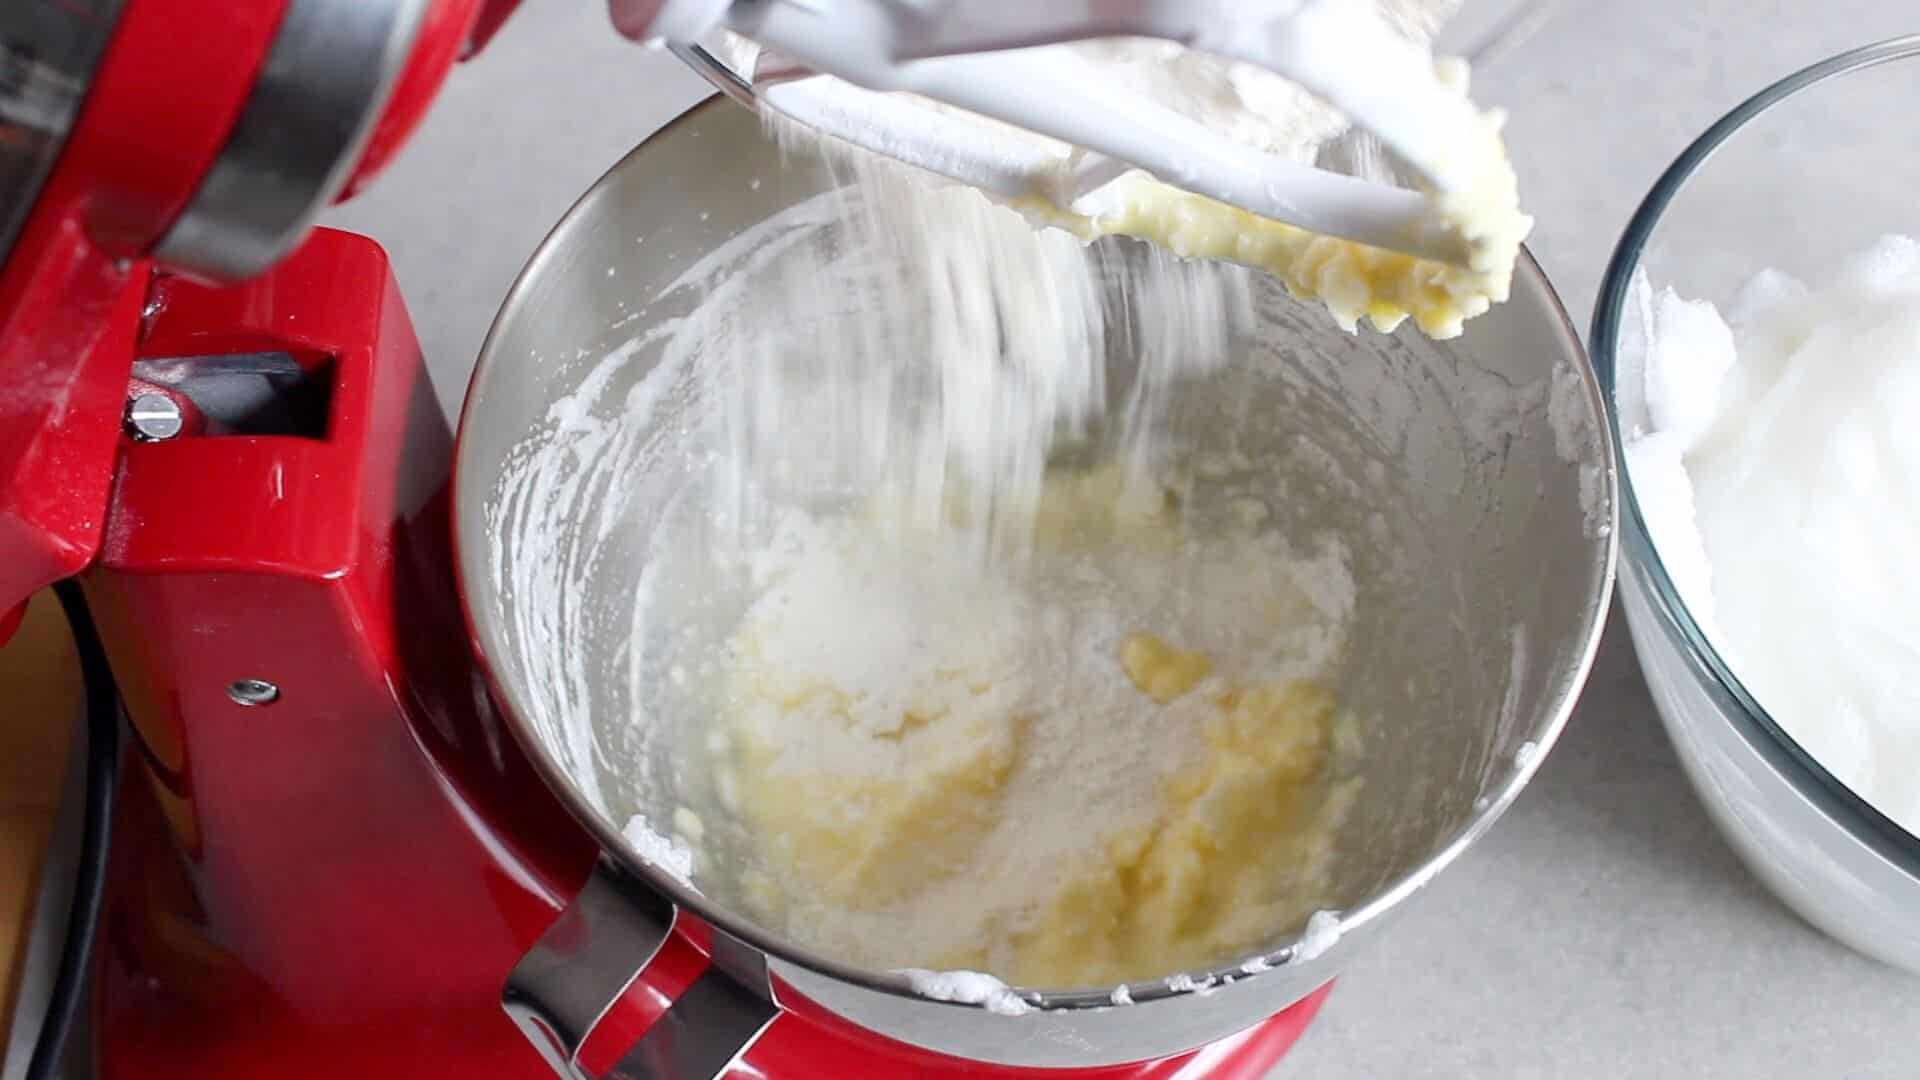
5. Add about ¼ cup of the flour mixture and beat until smooth and creamy. Then add the remaining dry mixture and blend at medium-low speed until combined, stopping to scrape down the sides of the bowl if necessary.

6. Combine the vinegar and water. Add the mixture to the batter in the mixing bowl and beat until smooth.
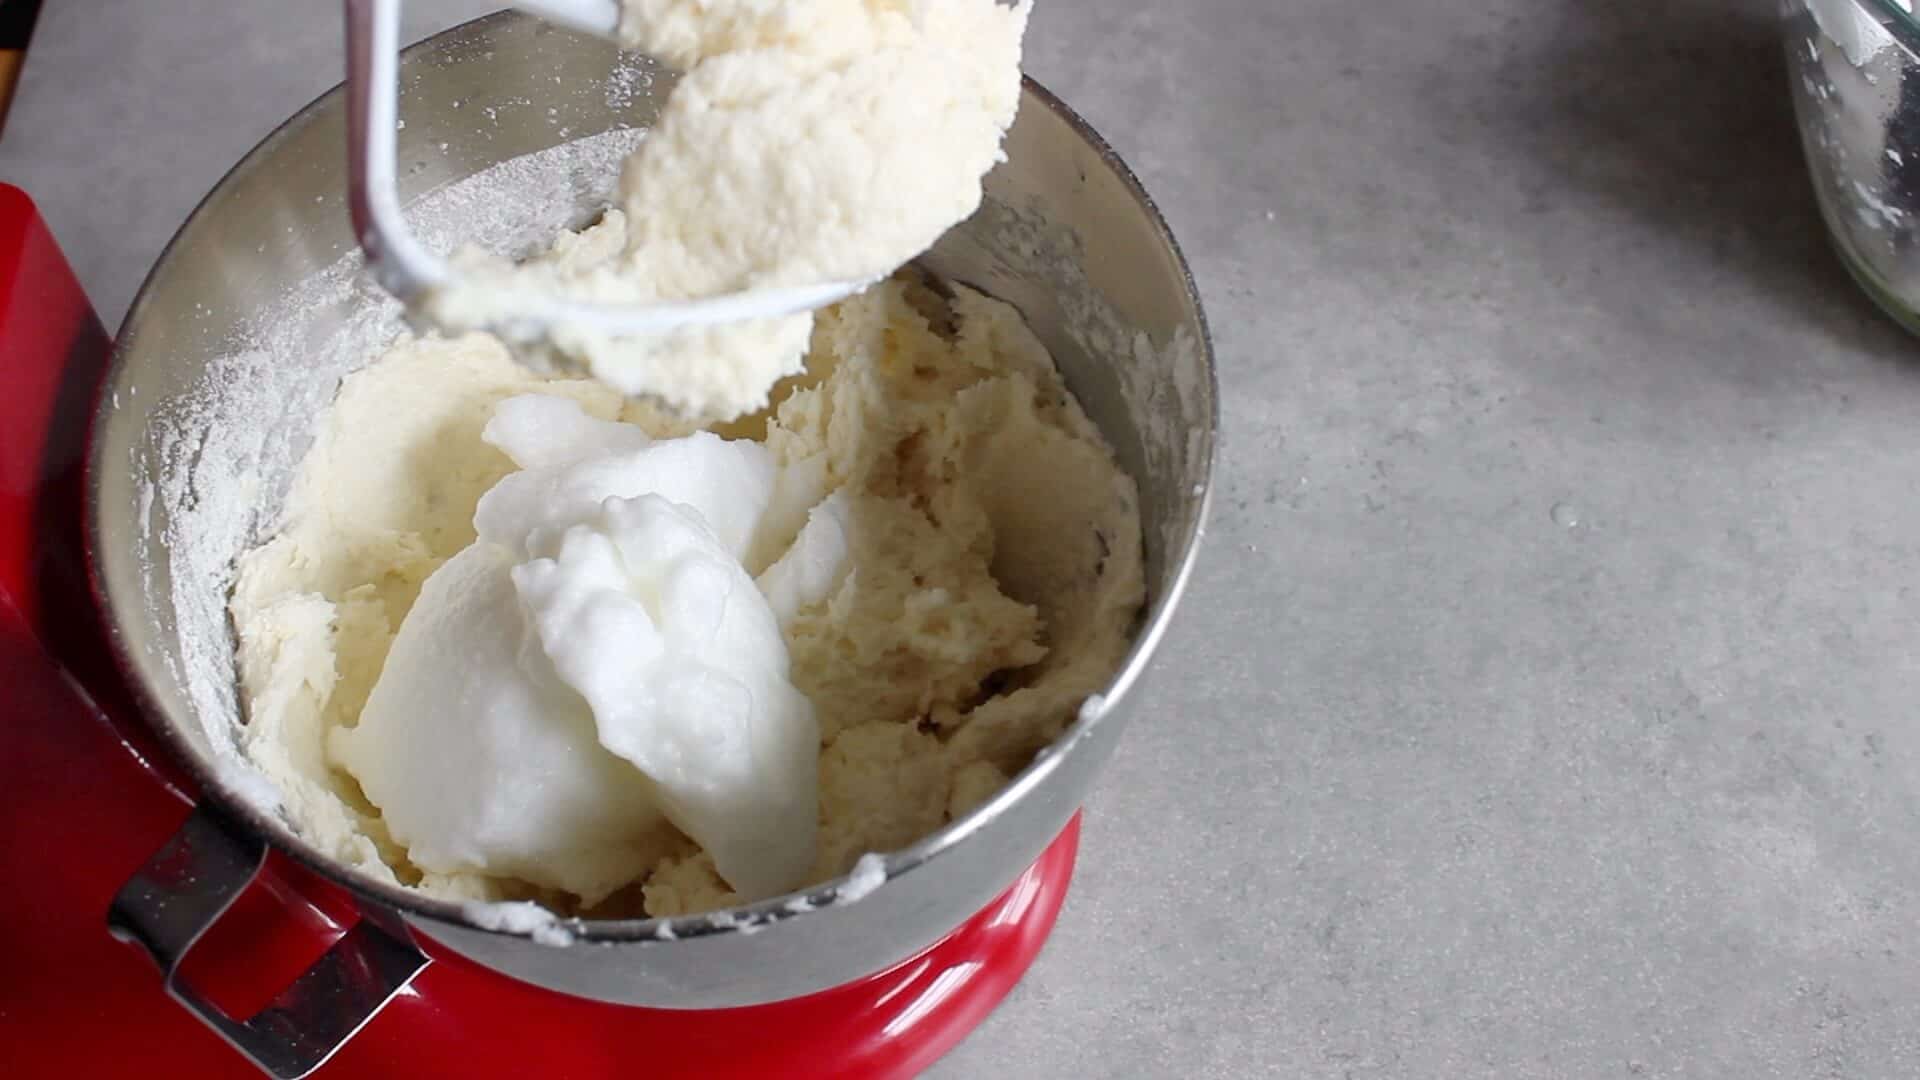
7. Add about ⅓ of the beaten egg whites to the lard-flour mixture and beat at low speed until just blended.
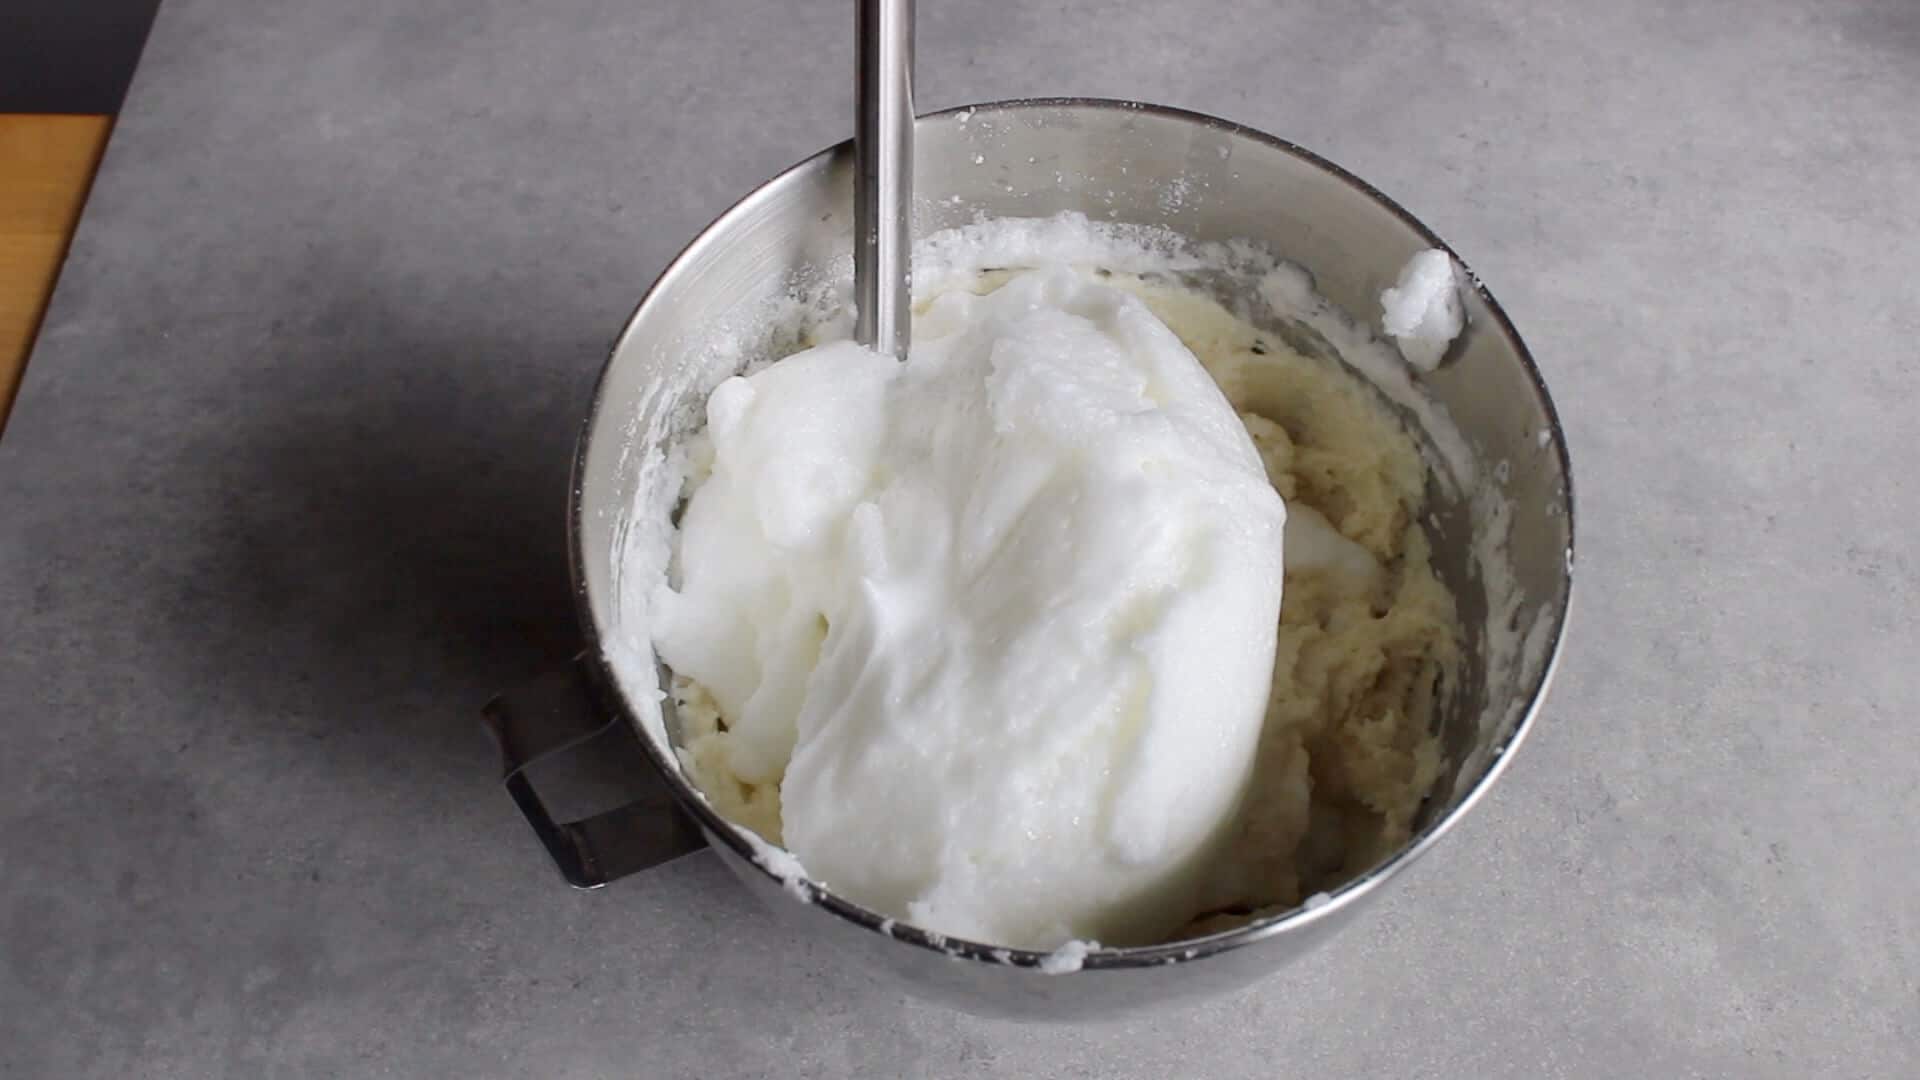
8. By hand, gently fold in the remaining egg whites.

9. Cut the corner off a clear plastic zip-top bag. Your cut should be about 1 inch (2.54 cm) across.
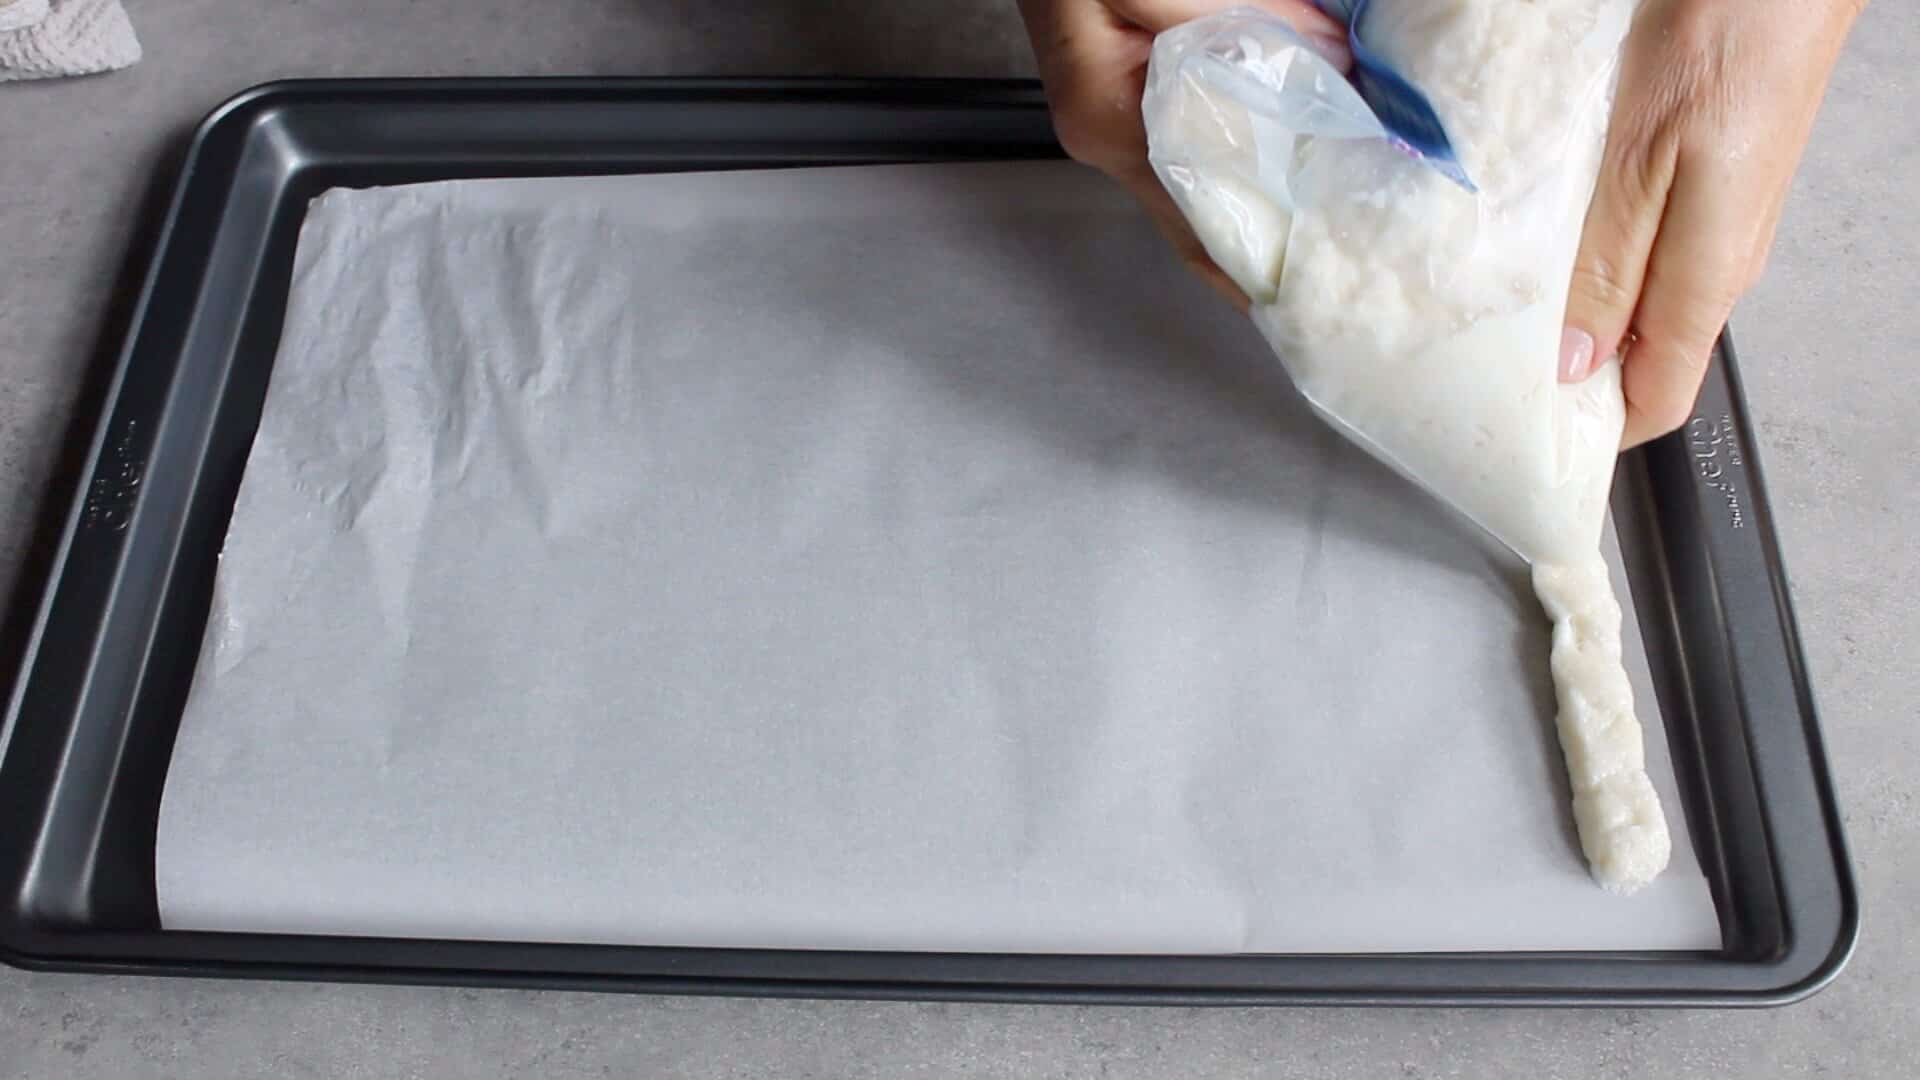
10. Carefully transfer the batter to the bag and squeeze out "sticks" across the width of a prepared pan.
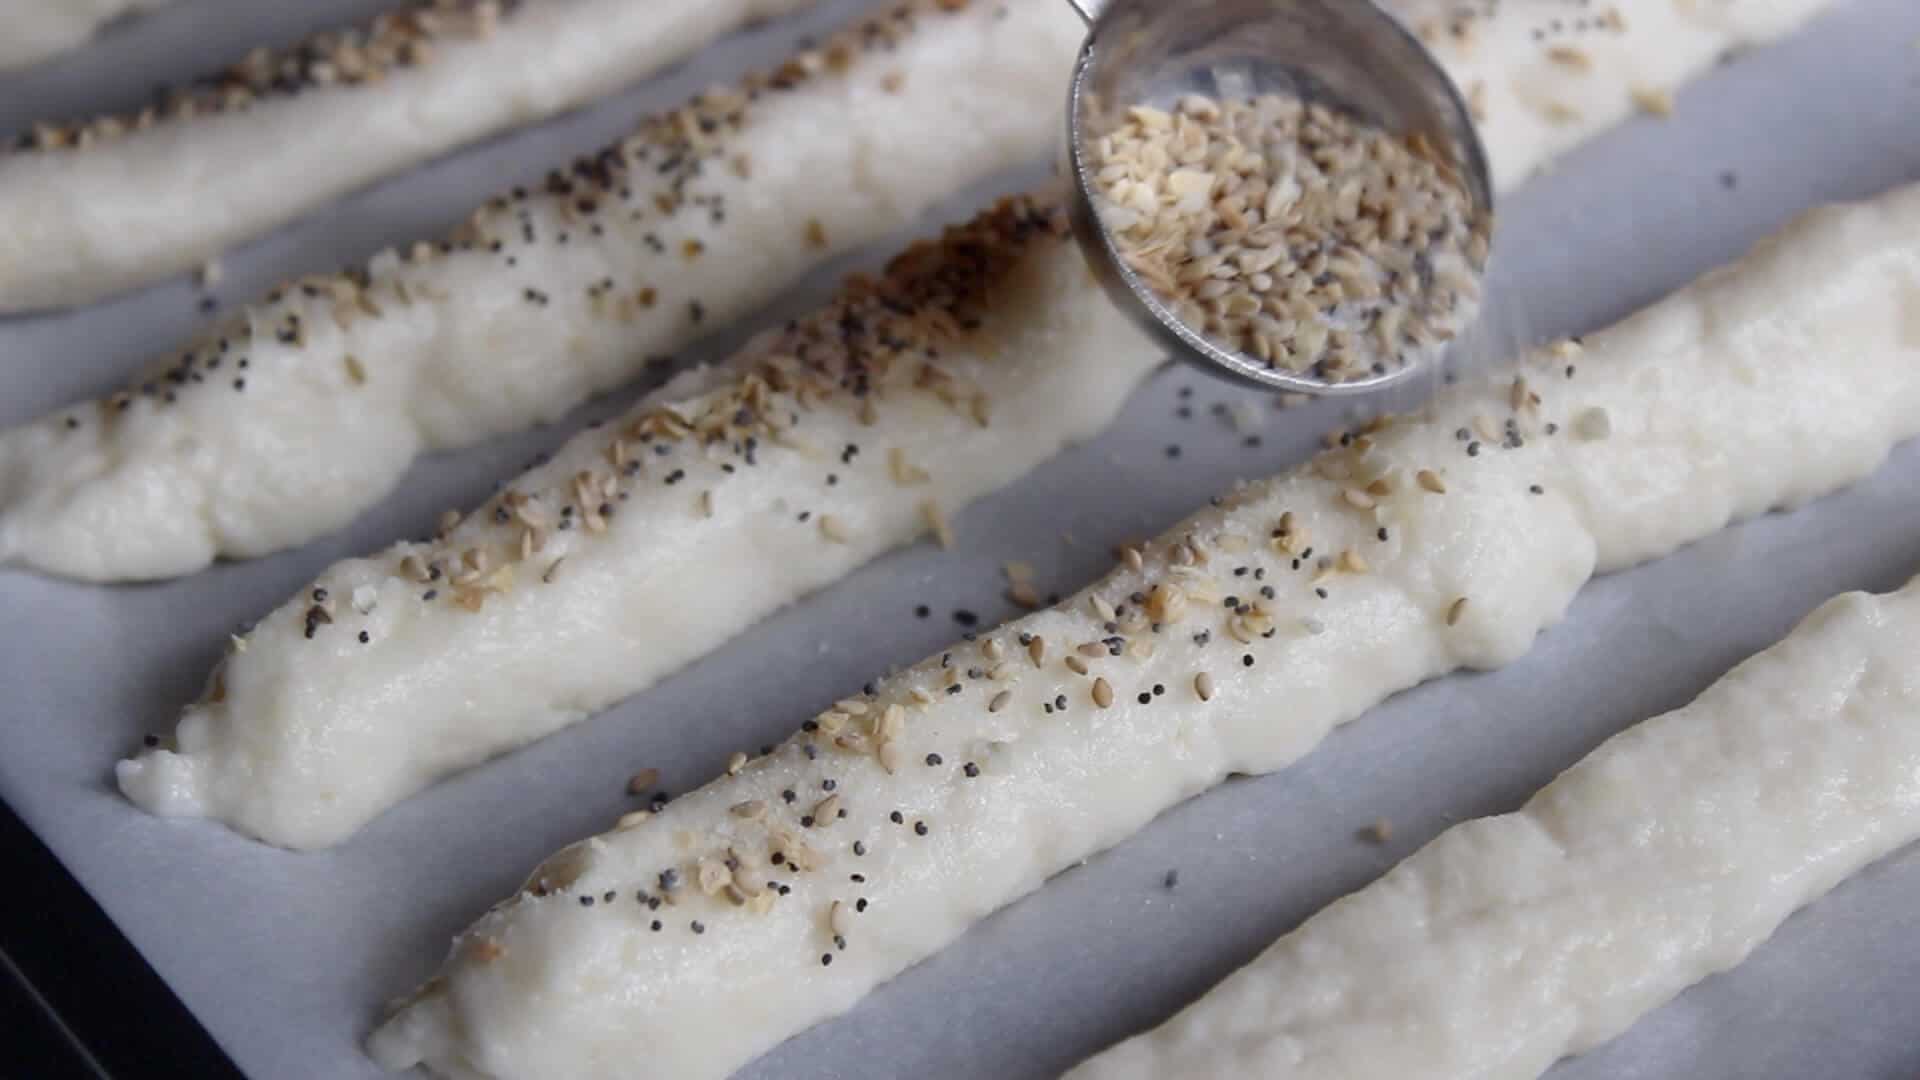
11. Sprinkle with Gluten Free Everything Seasoning.

12. Bake in a preheated 325 F oven for 1 hour. Then, if necessary, turn up the heat and bake for up to 15 minutes longer until the breadsticks are nicely browned.
Stiffly Beaten Egg Whites
Egg whites beaten until they are stiff are key to the success of this recipe. They keep the texture light and airy.
How to Beat Egg Whites
You need to separate eggs carefully if you'll be beating the whites stiff. Don't get any yolk mixed in with your whites. Use a bowl that is very clean, especially free of any oils.
Play it safe by first separating each egg one at a time, slipping the white into a small bowl or saucer of its own. Once you're sure the yolk hasn't broken and the white part is successfully clear from any yolk, transfer it to the big mixing bowl with the others.
What if you accidentally get any yolk in with the white?
It's possible to remove a tiny speck of yolk from the white by scooping it out with a piece of shell. However, if you're not absolutely certain that you got it all, it's best to just set that one aside for scrambled eggs or some other purpose and proceed with a fresh egg and a clean small bowl or saucer.
Even the tiniest speck of yolk will spoil the whole batch of egg whites from beating properly.
Temperature of Egg Whites
Your egg whites will beat to the best volume if they have come to room temperature.
How do I know if egg whites are stiffly beaten?
Egg whites are stiffly beaten when you pull out the beater, and it leaves a stiff peak that doesn't fall over. (See picture with instructions above.) This will happen sooner than you think once they turn white. Check early to avoid over-beaten egg whites. If the peak droops over, you can easily continue beating just a little more.
How to Fold in Egg Whites
When you incorporate the stiffly beaten egg whites into the bread batter, handle it carefully to avoid crushing the tiny air bubbles that have been worked into it. We mix only about ⅓ of the whites into the batter first to lighten it up. That allows the remaining egg whites to then be gently folded in.
Folding is a procedure done by hand. Slowly stir with a large spoon or spatula cutting deeply into the batter from one side of the bowl to the other. Turn the bowl a little and again draw the utensil from top to bottom down one side and directly across the bottom, coming up on the opposite side. Repeat this a few times until the beaten egg whites are somewhat uniformly incorporated, but not completely smooth.

A Note about Mixing Bowls
It's easy to make Gluten Free Garlic Bread Sticks, especially if you have a stand mixer. After years of home baking, I finally got my stand mixer as a perk of the food blog. I'm so glad I did! It would have made many things much easier if I had had it sooner, especially for gluten-free baking.
Because I have only one mixing bowl with my stand mixer, I beat the egg whites first while the bowl is still clean. Then I transfer the egg whites to another bowl, so I can beat the remaining ingredients with the machine, too. It's important to work quickly here, so the whites don't deflate and lose their volume.
If you have two mixing bowls with your stand mixer, you can simply use both of them for this recipe and not need to transfer the egg whites to another one.
Piping the Bread Sticks
I find that piping is the best way to form the bread "stick" shape. Piping is a cake-decorating procedure that produces thin lines. These breadsticks are like thick piping. You can use a disposable plastic piping bag if you have one. However, I find that a plastic zip-top bag works as well. It may be even better because you can seal the top.
The cut across the bottom corner of the bag should be about 1 inch (2.54 cm) long.

Baking the Bread
In testing this recipe, I tried a variety of baking temperatures and times. Naturally, I like to finish things up as quickly as I can, so I did try to bake them at a higher temperature. I found, though, that if I cooked these above 325 F (163 C), they would collapse in the middle.
Because of the high volume of egg whites in here, we're baking them more like meringues. If you keep the temperature a little on the low side (325 F), they crisp up and keep their shape beautifully. After an hour, feel free to turn up the heat to 350 F to finish browning them.
Gluten-Free Everything Seasoning
I sprinkle my Gluten Free Everything Seasoning over these breadsticks. It's a great mixture that I just love on roasted vegetables, avocado toast, and all sorts of things!

If you love this recipe, please give it 5 stars! Thanks so much!
Recipe

Gluten Free Garlic Bread Sticks
Ingredients
- 9 egg whites
- 1 ½ cups potato starch
- 1 cup coconut flour
- 4 teaspoons xanthan gum
- 1 tablespoon garlic powder
- 1 teaspoon sea salt
- 1 teaspoon gluten free baking powder
- ½ teaspoon baking soda
- ½ cup lard or butter, at room temperature
- 3 egg yolks
- 1 ½ cups water
- 2 tablespoons apple cider vinegar
- 2 tablespoons Gluten Free Everything Seasoning
Instructions
- Separate the eggs, and allow the whites to come to room temperature in a large bowl while you measure out the other ingredients.
- Preheat oven to 325 F. Line two 10-inch X 15-inch baking sheets with parchment paper.
- In a medium bowl, whisk together by hand the flours, xanthan gum, garlic powder, salt, baking powder, and baking soda.
- In a large bowl, beat the egg whites at high speed until stiff peaks form. (Use whisk attachment on stand mixer.)
- In another bowl (or the same bowl if you've carefully transferred the beaten egg whites to a separate clean bowl), beat the lard (with the flat edge beater attachment).
- Add the three egg yolks and continue to beat.
- Add about ¼ cup of the dry flour mixture to the lard-egg mixture. Beat until smooth and creamy.
- Add remaining dry mixture and blend at medium-low speed until combined. Stop to scrape down the sides of the bowl if necessary.
- Add water and vinegar and beat until smooth.
- Add about ⅓ of the beaten egg whites to the lard-flour mixture and beat at low speed until just blended.
- By hand, gently fold in the remaining egg whites.
- Cut a 1-inch diameter opening across a bottom corner of an icing bag or a plastic freezer bag. Gently transfer the batter into the bag. Handle the batter carefully at this point so as not to break air bubbles unnecessarily.
- Using the bag of batter, pipe "sticks" across the width of the prepared pans.
- Sprinkle Gluten Free Everything Seasoning over the tops of bread sticks.
- Bake in preheated 325 F oven for 1 hour. Then, if necessary, turn up the heat and bake for up to 15 minutes longer until the bread sticks are nicely browned. (Cooking time will vary depending on the thickness of your bread sticks, so watch them closely near the end.)
Raia Todd says
I've never tried using stiffly beaten egg whites to make breadsticks. Interesting method! Thanks for sharing. 🙂
Cathy says
It's a great way to lighten up the dough.
Daniela Modesto says
Oh wow, I'm swooning over these! Absolutely fantastic recipe! Love that they're grain free too!
Cathy says
Thank you so much, Daniela!
Chocoviv says
These look yummy!
Cathy says
Thanks!