With a few tips for success, you can easily make your own gluten free yeast bread!
I used to make a lot of regular wheat yeast breads. For a period of time, I made several loaves a week, so I was making all of the bread our family was eating.
Now I make my yeast breads gluten free. I can tell you from experience that gluten free bread is easier to make!
Some of the old principles still apply for gluten free bread, but others don't.

Similarities
Use fresh, instant yeast
Use instant yeast, and don't waste your time and ingredients on yeast that isn't fresh.
Choose instant yeast rather than active dry yeast, because you can add it directly to dry ingredients in a recipe, rather than it having to be dissolved in water first.
Store yeast in the refrigerator to keep it fresher longer.
Temperature
Temperature is important to yeast. If it gets too hot or too cold at the wrong time, it won't work.
Yeast dough is really happy rising in a humid environment between 80 F (27 C) and 90 F (32 C). It will rise in a cooler environment, but it will take longer.
While your dough is rising, it's important to protect it from drafts.
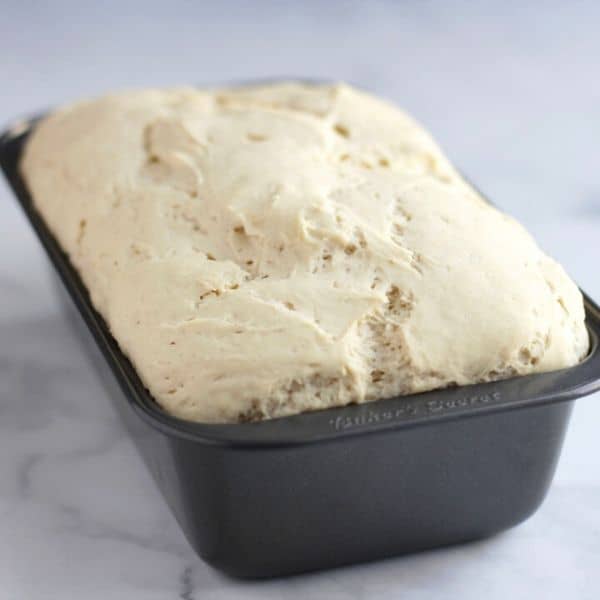
Drafty Disaster!
I have a memory from a bread-making class when I took 4-H homemaking clubs as a teenager.
A group of girls met weekly in the home of one of the two leaders, who was usually the mother of one of the girls. We followed a prescribed curriculum for a number of weeks and completed homework assignments.
Because of the time required to make wheat yeast bread, we couldn't complete a whole loaf in an evening's class. The loaf of bread was left rising nicely and the leader was to bake it later. When we met again the following week, she told us that the bread had suddenly collapsed before she could bake it.
What she assumed had happened was that as several of us opened the door of the house to step out into the cold Canadian winter, a draft had swept in and given our bread a damaging chill. I've since been careful to protect my rising bread dough from chilly drafts.
Yeast Bread Rising
The most foolproof place for your bread to rise is in a warm oven. Turn on the oven to 200 F (93 C) for a few minutes. Turn it off. Place a bowl of hot water in the back corner. Then set your bread in the centre to rise until it has about doubled in volume. You'll need to experiment with your own oven and an oven thermometer to find the amount of time your oven needs to reach that sweet spot in temperature. It's very important that you not expose your dough to a temperature above 90 F (32 C) until you are ready to bake it.
Rising times in yeast bread recipes are suggestions. The important thing is for your bread to rise until it has about doubled in size. The warmer the temperature, the more quickly this will happen.
Because temperature is important, bring your ingredients to room temperature before you begin to make your bread.
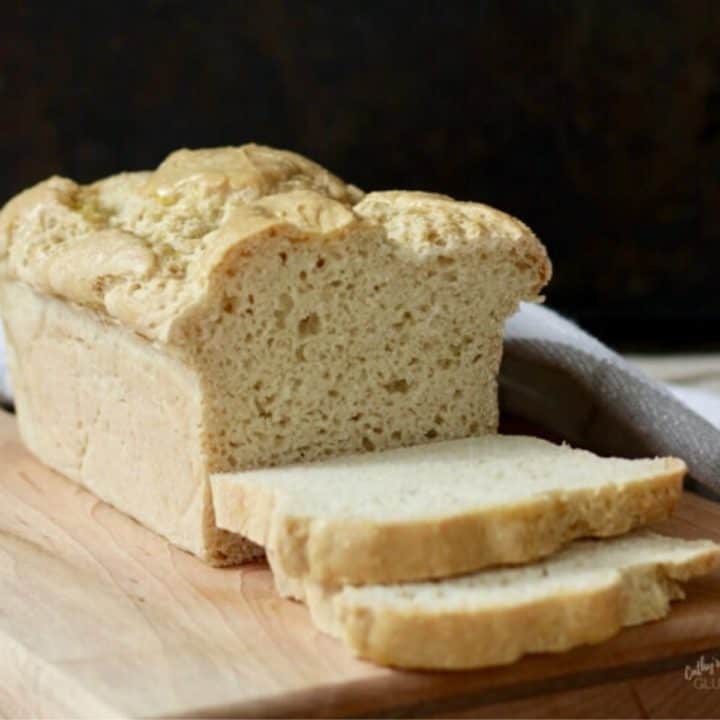
Differences
Gluten Free Yeasts
Some yeasts contain "natural dough improvers" derived from protein in wheat flour. Be sure to choose a gluten free yeast for your gluten free bread baking.
No Kneading
Gluten free bread doesn't require kneading. This is what makes it so much easier! Just mix it on low speed until everything is well combined. The kneading process for regular wheat bread is to develop the gluten.
No Second Rising
It also doesn't need a second rising, so it's faster!
Some gluten free recipes may call for a second rising, particularly when the dough needs to rest for a long period of time for some reason, but the second rising is not generally necessary for gluten free bread.
No Bread Machine!
For the two previously mentioned reasons, a bread machine is not much of an asset for us; a stand mixer is more useful for making gluten free bread at home.
I donated my bread machine after I had been gluten free for awhile and found that I didn't need it anymore.

Texture
Gluten free bread dough is stickier than wheat dough, so oil any plastic you may cover it with during rising.
You don't need to use a dough hook for most gluten free bread recipes. The flat beater of a stand mixer will suffice.
Binder
We need a binder to replace the gluten. Gluten allows wheat bread dough to stretch without breaking. Therefore, the bread can expand and still hold together. In gluten free recipes, the gluten is often replaced with xanthan gum, guar gum, arrowroot starch, or psyllium husk powder. Eggs also help to bind everything together.
A stand mixer is more useful than a bread machine for making gluten free bread at home.
I hope that you'll be encouraged to try making your own gluten free bread. Let me know in the comments below if you have any questions.
Gluten Free Yeast Bread Recipes
- Pizza Crust
- Sorghum Bread
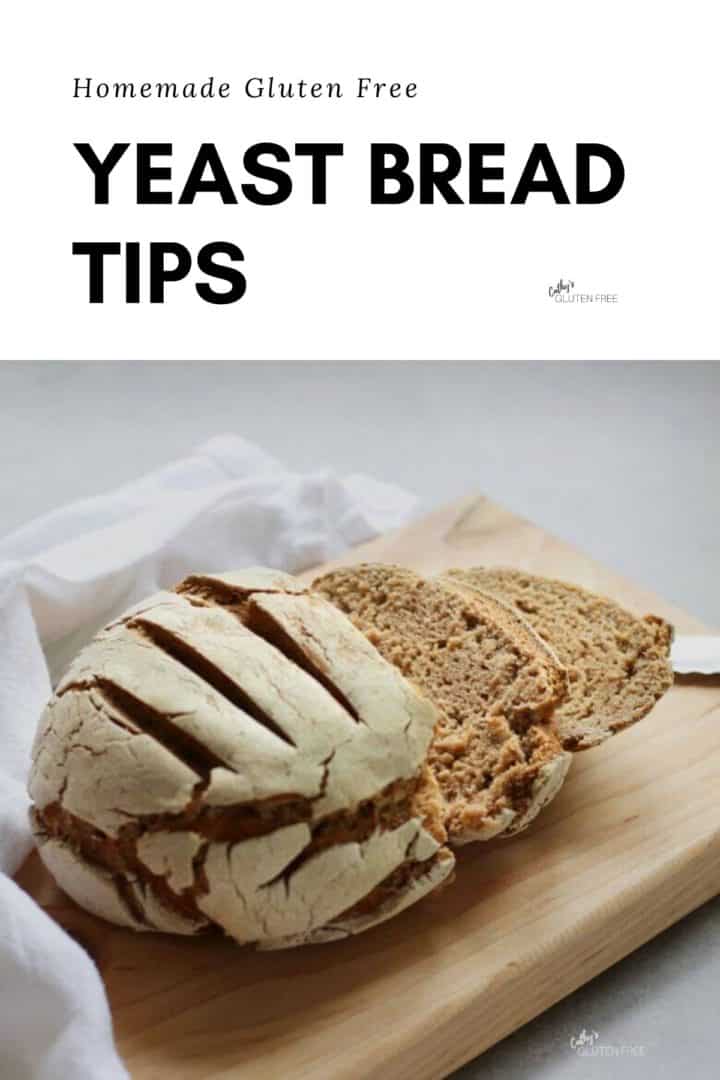
- Crusty Artisanal Bread
- Brioche
- Grain Free Sandwich Bread
- Dinner Rolls
- Hamburger Buns



Marcie says
Thank you for posting your Soft Sorghum Sandwich bread recipe. It has become my standard, but with a few tweaks that I wanted to share. I found that a full cup of tapioca made the bread too dense, I now use 1/3 cup. I don't use rice flour, I try to avoid most grains and supposedly rice can be inflammatory, so I use 1/2 coconut and 1/2 cassava. No sugar either, I substitute monk fruit sweetener. It was still a little heavy, so I increased the water to a little more than 2 cups. Now I get a fluffy bread like your photo, but need to remember to remove it from the pan and let it cool immediately on a wire rack, otherwise condensation develops. I hope my tweaks are helpful for you and yours.
Cathy says
Thank you, Marcie! I'm glad that you're enjoying the bread, and it's always good to hear how people tweak recipes to make them their own.
ChrisT says
What is egg replaced with as allergic to eggs,milk,nuts,fish.
Cathy says
I'm sorry to read that you are allergic to eggs, milk, nuts, and fish. I know it must be difficult to find suitable recipes. Most of my recipes have neither milk or fish in them. Many are free from nuts. My Simple Crusty Artisanal Bread is a nice one that free from the allergens you mention. Seed crackers is another popular allergy-friendly recipe. I hope this helps.