

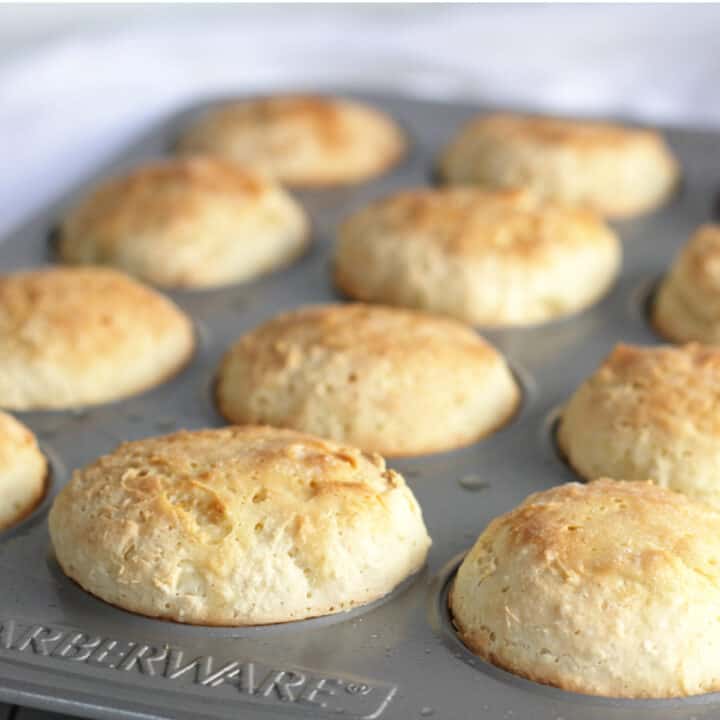
These easy gluten-free dinner rolls are light, fluffy, and white! They'll fill the house with the wonderful aroma of freshly baked bread. Split open a thin crust to reveal the delightfully soft interior. One bite, and I'm smitten!
Back in my gluten-filled days, I used to enjoy occasionally indulging in a soft, white, freshly baked bun slathered in butter. Not until I created this gluten-free dinner rolls recipe have I been able to replicate that experience. After years of experimenting with gluten-free flours in various combinations, I'm very excited to report that what I have landed on here is finally satisfying my craving!
While they may not be the most healthful things on the planet, these buns are a great gluten-free replacement for warm, fresh, white dinner rolls!

Jump to:
November 2025 update: Now that I'm enjoying the convenience of my gluten-free bread flour blend and the discovery of psyllium husk for gluten-free bread baking, I have updated this recipe. In case you still want to use the ingredients shown in the photo, I have listed the amounts just above the recipe card.
Ingredients
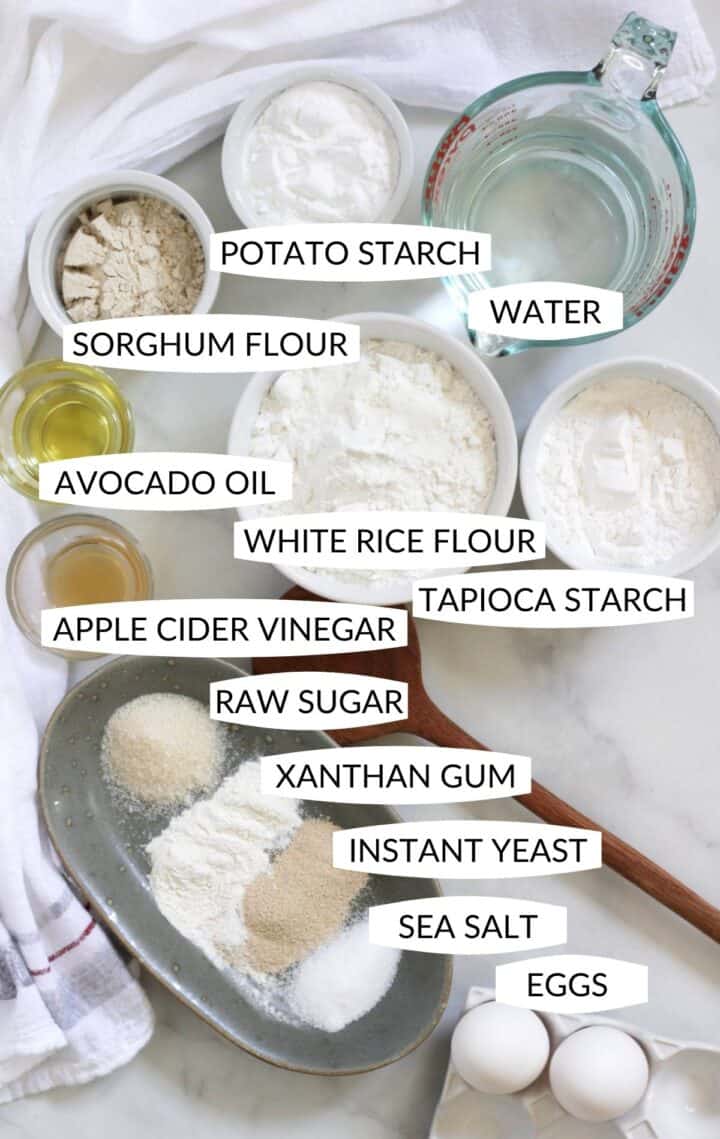
- Potato Starch - This is different from potato flour. Don't interchange the two.
- Water - Your water will need to be about 120° - 130° F (50° - 54°C). This is a little warmer than it would normally be for proofing yeast, because you won't be adding the yeast directly to the water.
- Avocado Oil - Other oils will work. I like avocado oil because of its neutral flavour and its ability to withstand high temperatures for cooking.
How to Make Gluten-Free Dinner Rolls
These rolls are incredibly easy to make if you have a stand mixer! Just measure the ingredients and throw them in. It really does the work for you! That's not to say that you can't make them without the machine, but it certainly helps.
Whisk all of the dry ingredients together in a large mixing bowl.

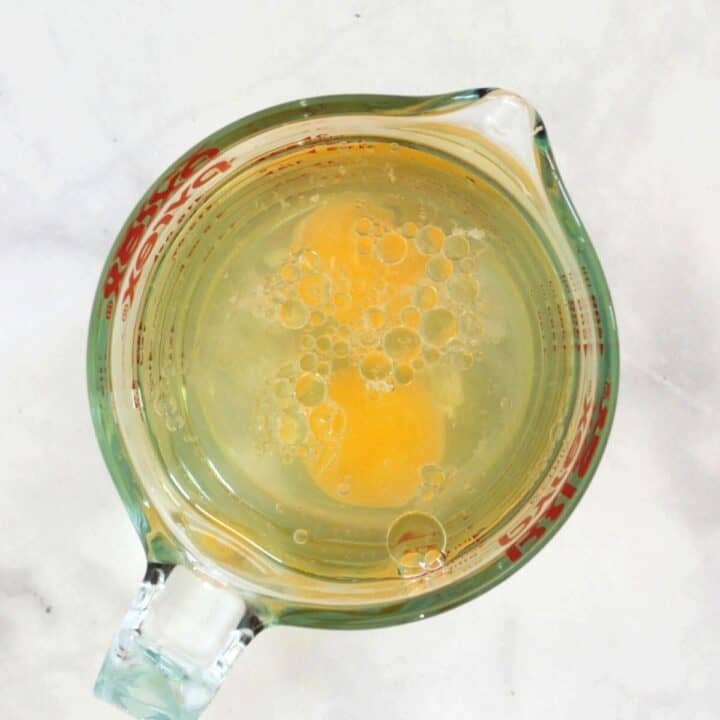
Combine the wet ingredients together in the measuring cup used to measure the water. (If you're not using a stand mixer, whisk these wet ingredients together before adding them to the dry mixture. This step is not necessary for the stand mixer method!)
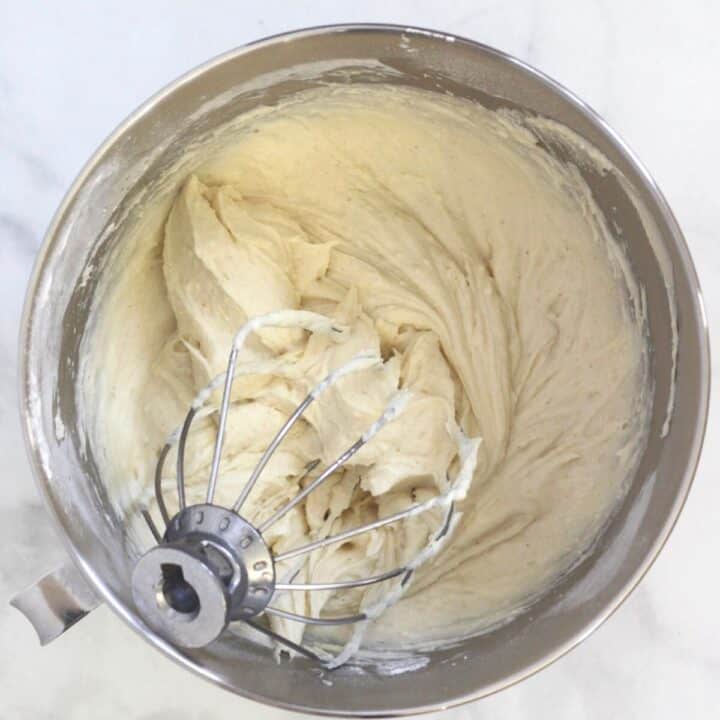
With the dry ingredients in the bowl of your stand mixer, run the machine slowly using the whisk attachment. As it's running, slowly pour in the liquid mixture. Continue to run the machine until the batter is smooth and well-blended.
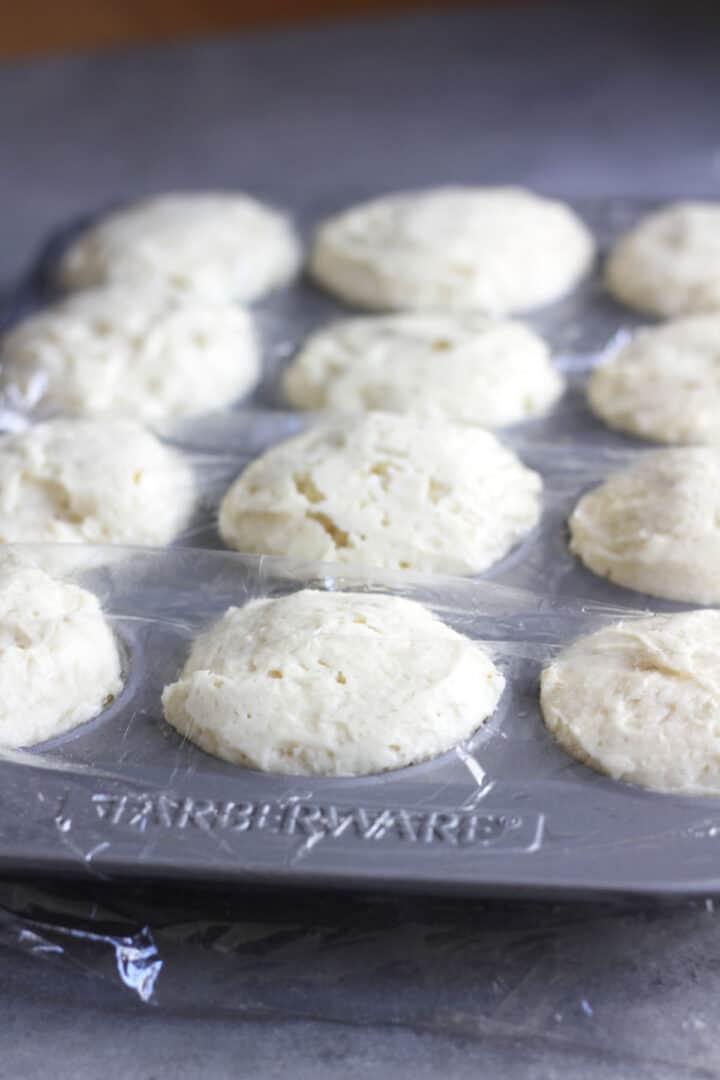
Divide the batter among twelve oiled cups of a muffin pan.

Cover the batter with an oiled piece of plastic wrap, with the oiled side next to the rolls. Set the pan in a warm place for about an hour to allow the buns to rise. Carefully peel off the plastic just before baking.
Bake the rolls, allow them to cool a little on a wire cooling rack, but enjoy them warm and fresh!

Tips and FAQ's for Gluten-Free Rolls
A blend of gluten-free flours is actually best for making yeast bread. Most blends start with rice flour. Then, you need a starch or two. I also like to include some sorghum flour in my bread recipes. It has a neutral flavour, light colour, and is an excellent alternative to wheat, giving your bread a nice, soft texture.
As with wheat bread, gluten-free yeast batter needs a warm place to rise. Aim for as close to 75°F (24°C) as possible. This is the ideal temperature for the yeast to form the air pockets that cause bread to rise. If your room isn't that warm, allow a little more rising time.
Cover the rolls or bread dough with a well-oiled piece of plastic wrap. Don't expect gluten-free batter to rise much above the top of the pan. Without gluten, it just doesn't have the structure to hold together before baking. They will puff up a little more after you place them in a hot oven.
Top Tips for Yeast Bread Baking
Here are some tips to help you with successful gluten-free yeast bread baking.
- The temperature of the water should be 105°F (41°C) to 115°F (46°C) when it comes into contact with the yeast.
- Don't allow the liquid to be too hot, or it will destroy the yeast.
- An ideal environment for proofing bread dough is 75°F (24°C)to 85°F (30°C). Bread rises much better in a warm, humid environment.
- Don't allow the dough to get a chill or cold draft during the rising process. Protect it from cold air, such as from an outside door opening in winter or air conditioning vents in summer.
- Gluten-free bread doesn't need to be kneaded like wheat bread because there is no gluten to develop. It does need to be mixed until the batter is smooth and consistent, and the moisture is evenly absorbed. A stand mixer with a dough hook is ideal for this job.
- Weigh your ingredients for accuracy. Volume (cups) measurements can fluctuate wildly and lead to disappointing results.

Are you ready to try some more gluten-free yeast breads?
- Gluten-Free Sandwich Bread Recipe
- Artisan Bread
- Grain-Free Bread
- Garlic Bread Sticks
- Hamburger Buns
- Brioche
- Yeast Bread Tips
Original Recipe Ingredients (the ones that match the labeled ingredient photo)
- 1 ½ cups (270 g) white rice flour
- ¾ cup (100 g) tapioca flour
- ½ cup (90 g) potato starch
- ⅓ cup (40 g) sorghum flour
- 1 tablespoon (12 g) raw cane sugar
- 2 teaspoons (6 g) xanthan gum
- 2 teaspoons (9 g) instant yeast
- 1 ½ teaspoons (9 g) sea salt
- 1 ½ cups warm water (355 ml) (110 - 120°F/ 43 - 49°C)
- 1 large egg
- 2 tablespoons (30 ml) avocado oil
- 2 teaspoons (10 ml) apple cider vinegar
The method remains the same.
Recipe

Gluten Free Dinner Rolls
Equipment
Ingredients
Dry Ingredients
- 4 cups Cathy's Gluten-Free Bread Flour Blend
- 1 tablespoon raw sugar
- 2 teaspoons xanthan gum
- 2 teaspoons baking powder
- 1 teaspoon instant yeast
- 1 teaspoon fine sea salt
Wet Ingredients
- 2 cups warm water (110° - 120°F / 43° - 49°C)
- ¼ cup avocado oil
- 2 teaspoons apple cider vinegar
- 1 egg
Instructions
- Coat the inside of the twelve cups of a muffin pan by spraying or brushing it on with a pastry brush.
- Whisk the dry ingredients together in the mixing bowl of a stand mixer.4 cups Cathy's Gluten-Free Bread Flour Blend1 tablespoon raw sugar2 teaspoons xanthan gum2 teaspoons baking powder1 teaspoon instant yeast1 teaspoon fine sea salt
- Measure warm water, and add the other wet ingredients.
- With the whisk attachment of the mixer running on low speed in the bowl with the dry ingredients, slowly pour in the wet ingredients. Let it run on low-medium speed for 5 minutes, so the yeast and sugar become evenly distributed to work their magic. You'll likely need to stop once or twice to scrape down the sides with a spatula. The batter should be very smooth.2 cups warm water¼ cup avocado oil2 teaspoons apple cider vinegar1 egg
- Divide the batter evenly between the twelve prepared cups in the muffin pan., shaping the dough into balls with wet hands. Oil a sheet of plastic wrap well, and use it to cover (oiled side next to the batter) the batter. Set the pan in a warm place for about an hour for the rolls to rise.
- About 10 minutes before the hour is up, preheat the oven to 400°F (204°C), and set a rack rather high in the oven.
- When the buns have risen, peel off the plastic wrap and set the pan in the oven to bake for about 20 minutes.
- Optionally, brush a little butter on the tops of warm buns as soon as you remove them from the oven.
Notes
- The ideal room temperature for yeast dough to rise is about 75°F (24°C). If you can't find a spot that warm, allow a little more time.
- Enjoy fresh, warm gluten free buns straight from the oven! These will freeze and be like the best ones you'd buy in the freezer section of the grocery store, but they're so much better fresh!
Barb Funk says
Can these sit after rising to cook later in the day?
Cathy says
I have not tried this. I do know that yeast dough can rise too much and then collapse. If you want to prolong baking, refrigeration might be an option, but again I haven't tried it. I definitely think that this is something that I should experiment with, so thank you for the idea!