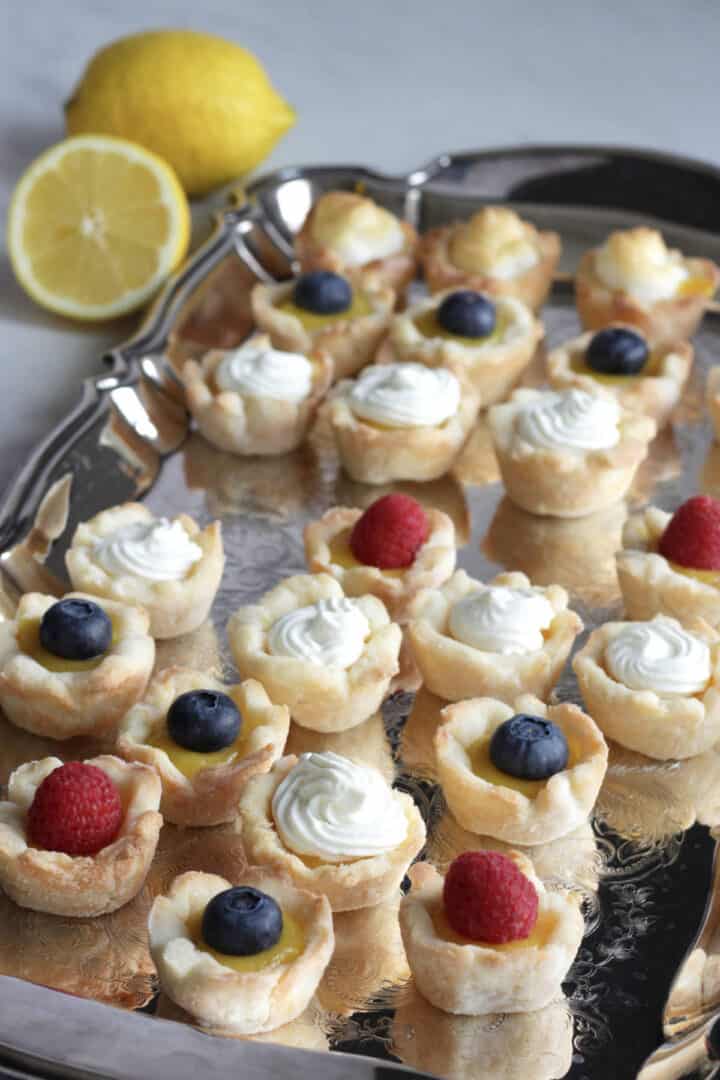
Mini Lemon Tartlets are beautiful little bites of flaky gluten free pie crust filled with lemon curd and topped with berries, whipped cream, or meringue. They're perfect for showers, Mother's Day, or an elegant Easter platter.

I love that I can enjoy and share such a special, delicious treat that's free from refined sugar and gluten. It's easy to prepare the crusts and filling a day ahead. Then it doesn't take long to put the tartlets together for a fresh presentation.
Ingredients
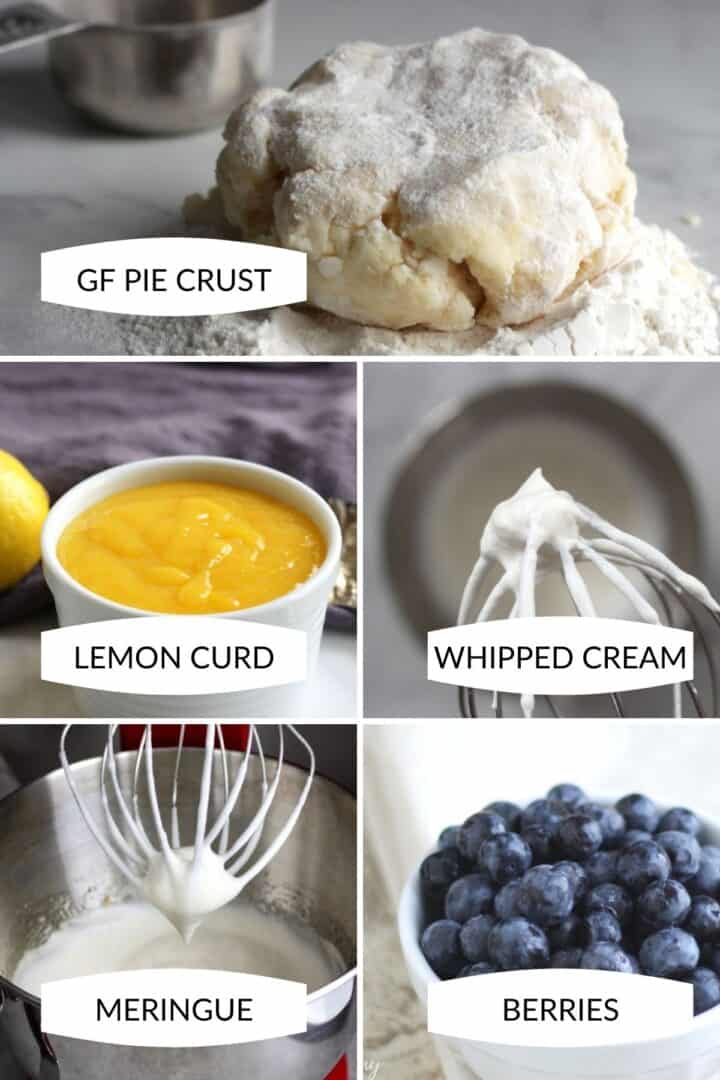
- Pie Crust - This gluten free pie crust is the best. You can make the crust up to two or three days ahead and cut out the tartlet crusts a day ahead. The unbaked crusts will keep, covered in the mini muffin pan, in the refrigerator for a day or two before baking. The pie crust recipe will make more than you need, so you can save the rest for future pie crusts. Simply seal it into an airtight bag and freeze it for up to two or three months.
- Lemon Curd - This lemon curd, sweetened with raw, or unrefined, cane sugar, can be made a day ahead.
- Whipped Cream - Chill a clean bowl and beaters, add just a little maple syrup or honey to some heavy whipping cream, and beat it until stiff.
- Meringue - Use some of the egg whites leftover from the yolks in the lemon curd to make meringue.
- Berries - Blueberries, raspberries, blackberries, or strawberries would all work nicely.
Instructions
- Roll the pie dough in lots of rice flour, working it in as you turn it over from side to side. Since the best gluten free pie dough is very moist and sticky, it needs extra flour worked into it to hold its shape while the shells are baked before filling. Learn more in How to Bake a Blind Pie Crust.

2. Cut out the dough with a round, well floured, cookie cutter.
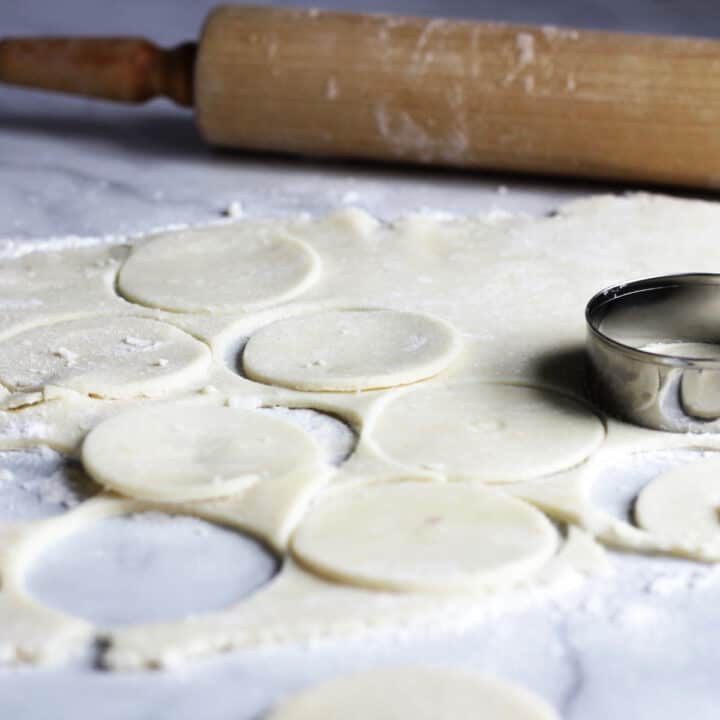
3. Place each round pastry into an indentation in a mini muffin pan. Poke each one a couple of times in the bottom with a fork to dock it. This allows steam to escape and keeps the crust from puffing up during baking.

4. Prepare Lemon Curd according to recipe directions.
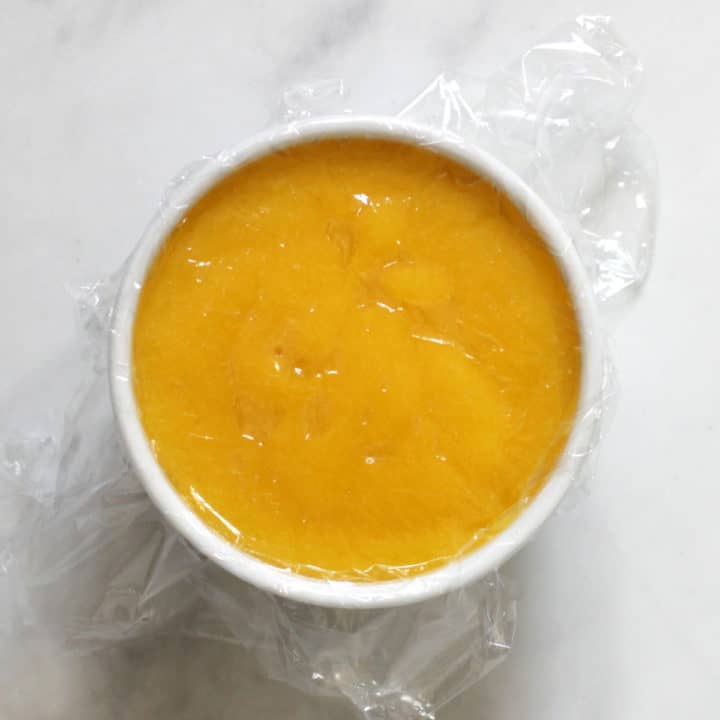
5. Fill the baked mini tart shells with a little lemon curd in each. I have tried piping it in, but found simply spooning it in with a half-teaspoon measuring spoon to be quicker and easier.

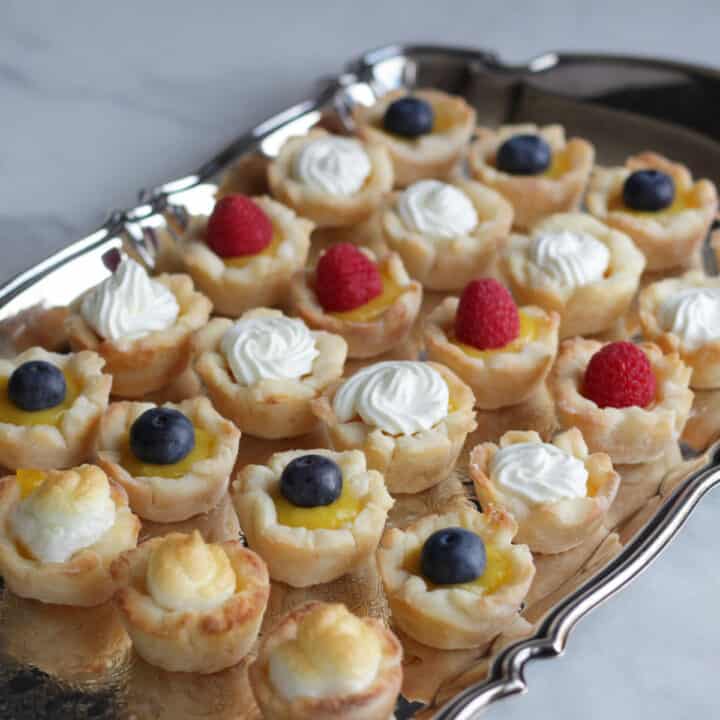
6. Garnish the mini lemon tartlets as you wish! I used berries, whipped cream, and meringue.
Recipe Tips and FAQ's
To make lemon tarts from scratch, prepare pie crust, shape it into muffin tins, poke the crusts with tiny holes, and bake the empty crusts. Make lemon curd and use it to fill the baked crusts. Garnish the tarts with fresh berries, whipped cream, and/or meringue.
To save time, I recommend making the dough for the pie crust two or three days ahead. Shape the tartlet crusts, but don't bake them, one day ahead. Also, make the Lemon Curd a day ahead. Then, on the day you'll be serving them, pop the pan of tart shells into the oven and bake them. When they've cooled, fill them with lemon curd and garnish as desired.
If lemon tarts are not going to be served within a few hours of making them, they should be refrigerated.
Lemon tarts will keep a couple days, covered, in the refrigerator. However, they are always best the day they are assembled.
More Recipes for Lemon Curd
Recipe

Mini Lemon Tartlets
Equipment
- Mini Muffin Pan
- Rolling Pin
- 2.6-inch (6.6 cm) Cookie Cutter
Ingredients
- ¼ recipe gluten free pie crust
- ½ cup white rice flour
- 1 recipe lemon curd
- berries (blueberries, raspberries, blackberries, and/or strawberries)
- heavy whipping cream (optional, for garnish)
- meringue (optional, for garnish)
Instructions
Crust
- Preheat oven to 425°F (218°). The mini muffin pan should not need any special preparation.
- Roll out the pie dough with a rolling pin in the rice flour, generously allowing it to be absorbed as you coat the rolling pin and frequently flip the dough over from side to side.
- Using a well-floured round cookie cutter, cut out round shapes from the dough, and place them into the tiny cups of a mini muffin pan.
- Dock the crust by poking each one with a fork a couple of times at roughly 90° angles to keep the empty crust from puffing up on the bottom during baking.
- Bake the mini tart shells in the preheated oven for 7 minutes, or until they are beginning to brown around the edges. Set them aside to cool before removing them from the pan.
- To remove the cooled shells from the mini muffin pan, gently place an inverted cookie sheet over them and tip them out upside down onto the cookie sheet.
Lemon Curd
- Prepare the Lemon Curd according to recipe directions.
Assembly
- Spoon a little lemon curd into each baked shell with a small spoon. A ½ teaspoon is about the right size.
- Garnish each tartlet with a berry, whipped cream, or meringue.
Garnish Options
- For the simplest, prettiest garnish, simply set a fresh berry onto the top of each filled tartlet.
- If you wish to garnish some tartlets with whipped cream, whip some heavy whipping cream and a few drops of maple syrup or sugar in a chilled bowl until stiff peaks form. Pipe or spoon a dollop onto each filled mini tart.
- Alternatively, you may also choose to make meringue with some of the egg white left over from the lemon curd. Beat the egg white in a clean bowl with clean beaters until stiff peaks form. Pipe or spoon a dollop onto each filled mini tart. Place the meringue-topped tartlets onto a baking sheet and bake in a 350°F (177°C) oven for a few minutes until the meringue starts to turn golden in colour.
Notes
- Since the gluten free pie crust is characteristically very moist, it needs the extra rice flour incorporated to maintain its shape for blind baking (baking empty crusts).
- The tart crusts could be shaped and placed, unbaked, in the pan and the lemon curd made a day ahead and kept, covered, in the refrigerator. I would recommend baking the shells and assembling the tartlets on the day of serving for maximum freshness.


Leave a Reply