
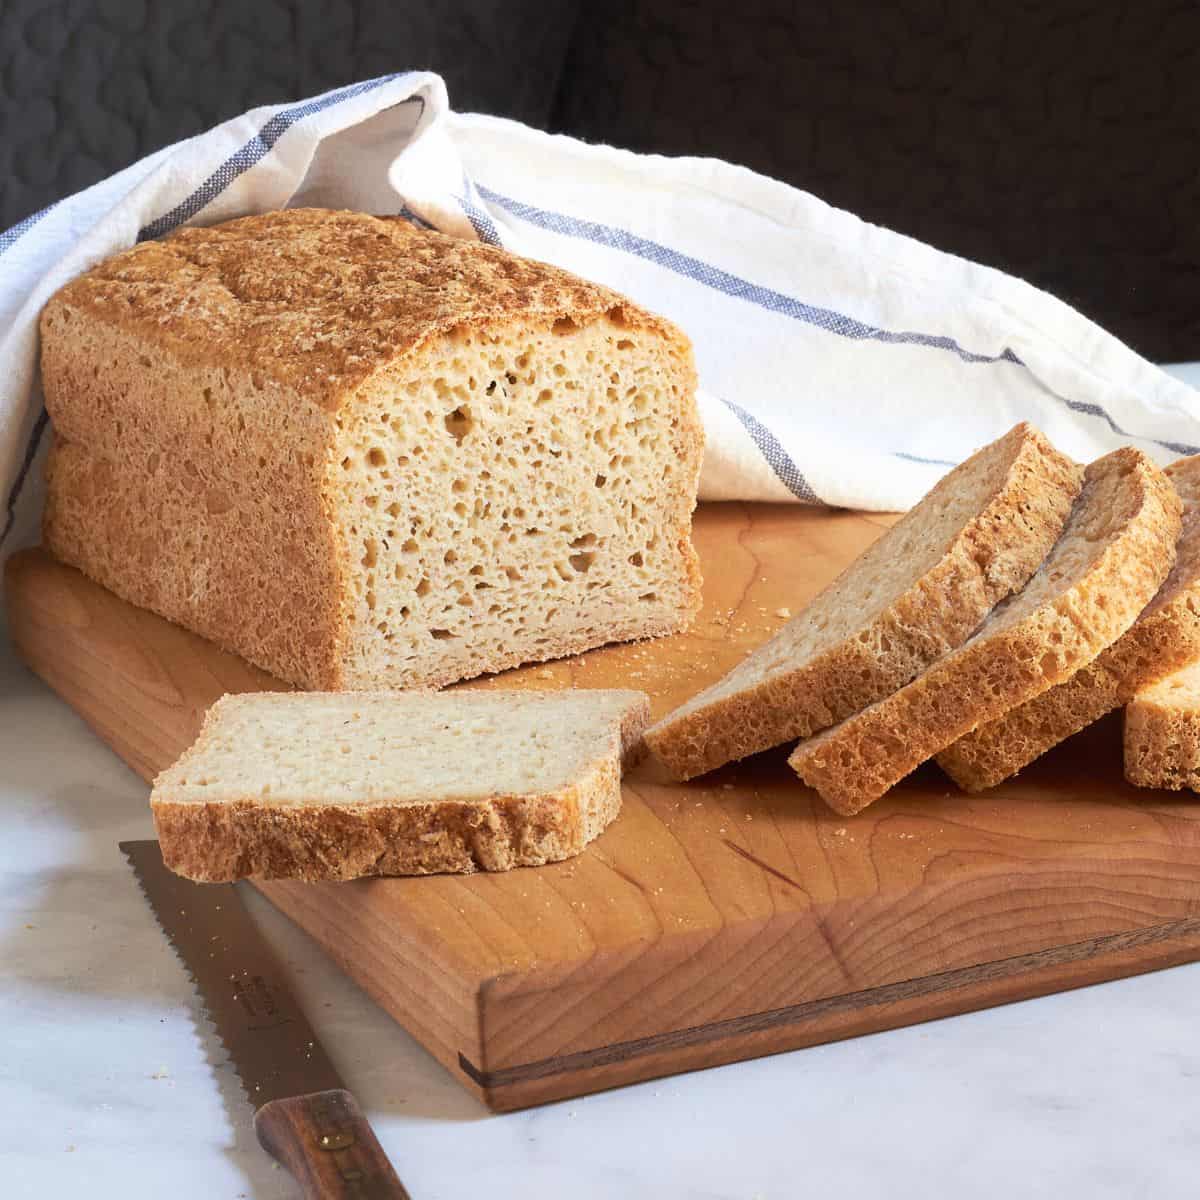
There's nothing quite like the aroma of freshly baked bread! If you've been hunting for a gluten-free sandwich bread recipe that actually works for daily life, this is it. Using my gluten-free bread flour blend, the dough comes together quickly and bakes into a loaf with a nice, open crumb that slices well, toasts nicely, and holds up to any filling.
Jump to:
This is an update on my early Sorghum Bread recipe that I created and published in 2018. While that one is still a good recipe and easy to make, we've learned much about gluten-free baking since then.
In particular, we've discovered how great a binder psyllium husk is for yeast-bread recipes. In my early gluten-free days, we usually used xanthan gum or guar gum to replace gluten in giving dough structure and holding it together. I still use xanthan gum for non-yeast baking.
Psyllium Husk in Gluten-Free Baking
Psyllium husk absorbs a lot of moisture and helps to keep the bread soft and squishy for a longer period of time than the gums do. You can use either whole psyllium husk or ground psyllium husk powder, but the quantities will be different. I usually work with psyllium husk because I think that it's more readily available.
Gluten-Free Bread Flour
I have now created a Gluten-Free Bread Flour Blend that includes psyllium husk as an ingredient. Instead of opening your cupboards and reaching for various flours every time you bake, you can make a big batch of this blend once in a while. Then gluten-free baking will be just as easy as regular, wheat-flour baking!
In fact, gluten-free bread baking is easier than wheat-flour bread baking because the GF kind needs only one rising!
How to Get Consistent Results with Gluten-Free Baking
Since the Gluten-Free Bread Flour Blend was developed specifically for yeast-bread baking, you can count on consistent results in my yeast recipes. This would not be the case with other flour blends that have widely varying ingredients.
Ingredients
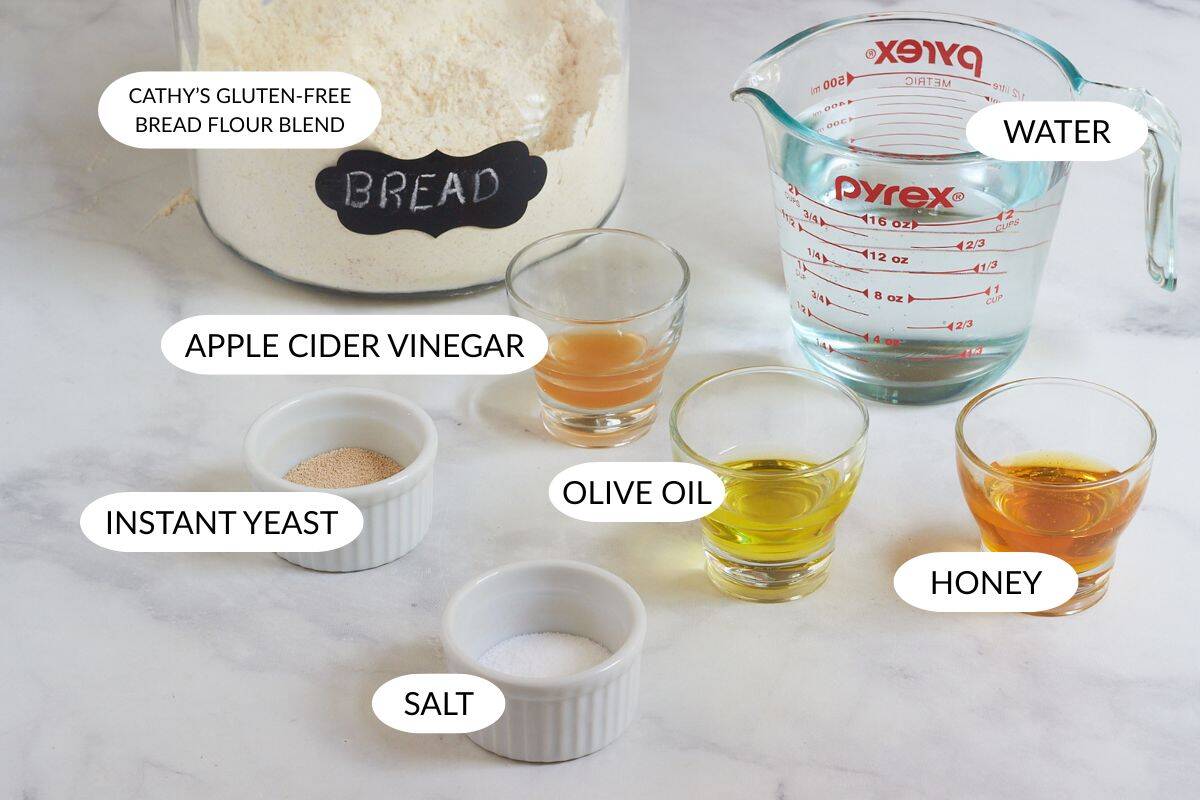
- Cathy's Gluten-Free Bread Flour Blend - This is the time-saving mix that includes psyllium husk and is designed to work with my yeast recipes. In case you only need to make one loaf, I have included a chart below which has
- Instant Yeast - This can be stirred in directly with the other dry ingredients. You can substitute active dry yeast, but you'll need to dissolve it first in the warm water with honey, letting it sit 5-15 minutes.
- Honey - You may use sugar instead, but increase the liquid by two tablespoons if you do.
See recipe card for quantities.
As an Amazon Associate, I earn from qualifying purchases.
Instructions
A stand mixer with a dough hook makes it easy to bake gluten-free bread! I am very appreciative of my Kitchen Aid stand mixer. However, if you don't have one, you can still follow these steps and mix by hand.

Whisk together the flour, salt, and yeast.
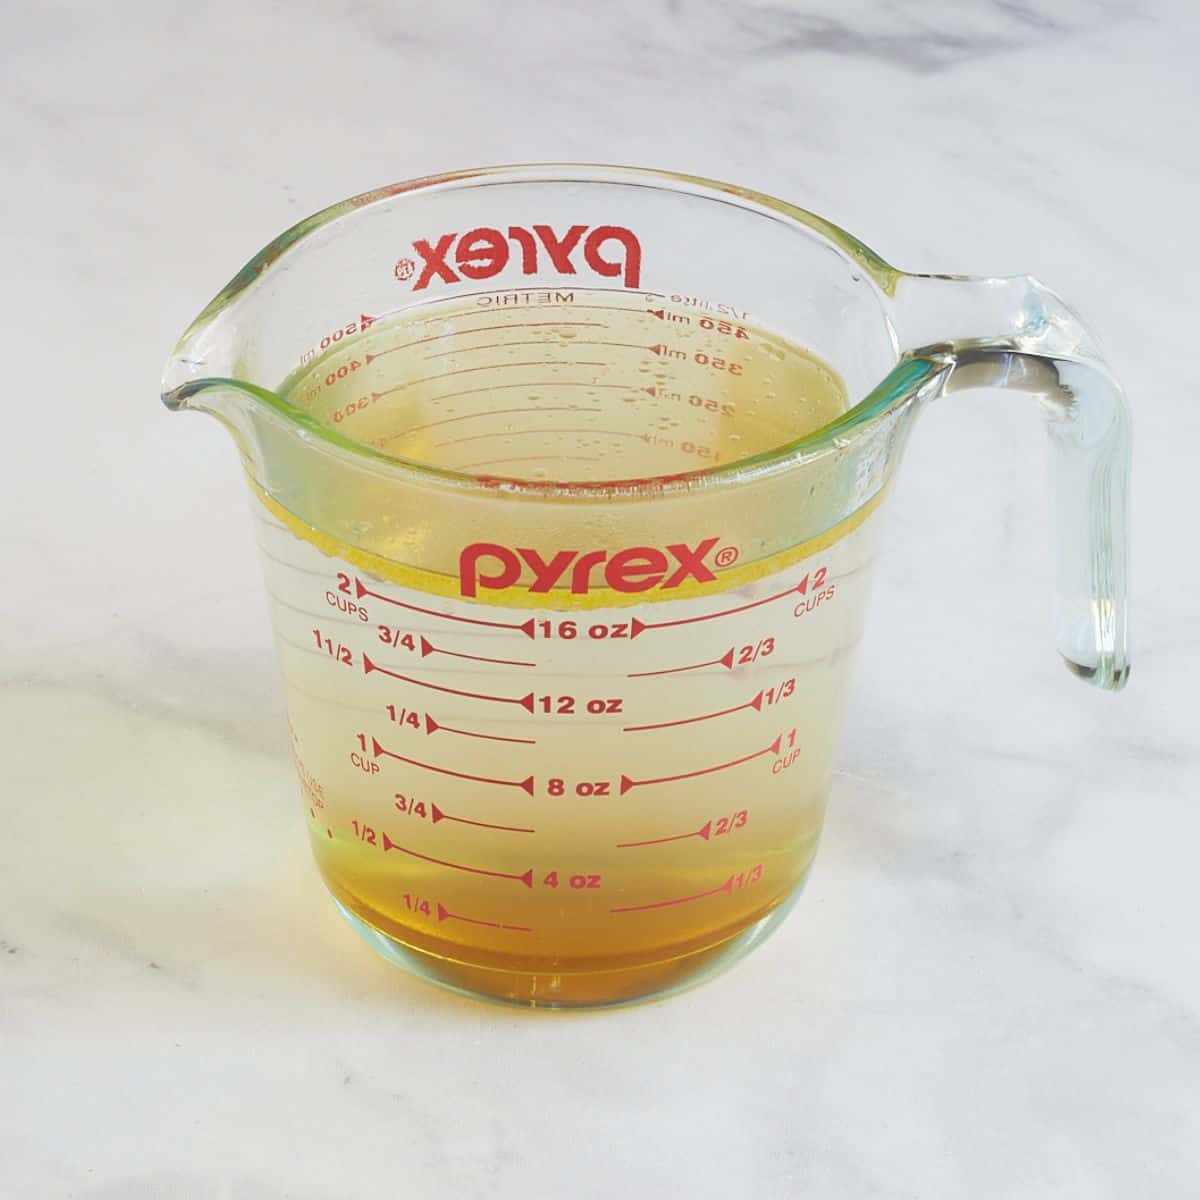
Add vinegar, oil and honey to warm water.
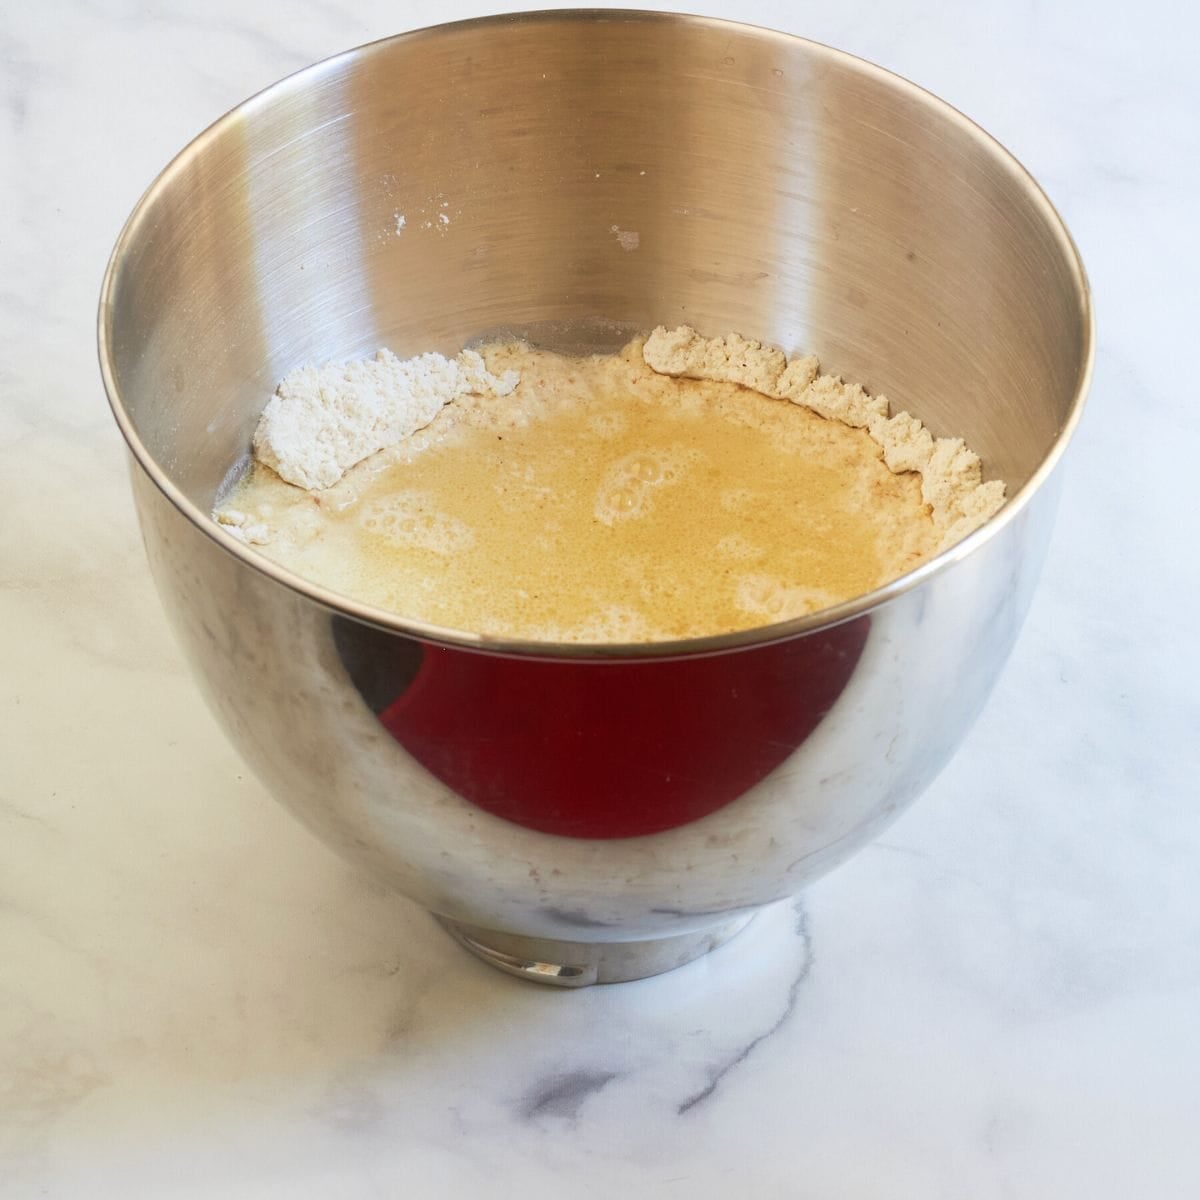
Pour the liquid into the dry mixture and run the machine until it is all combined, stopping a couple of times to scrape down the sides.
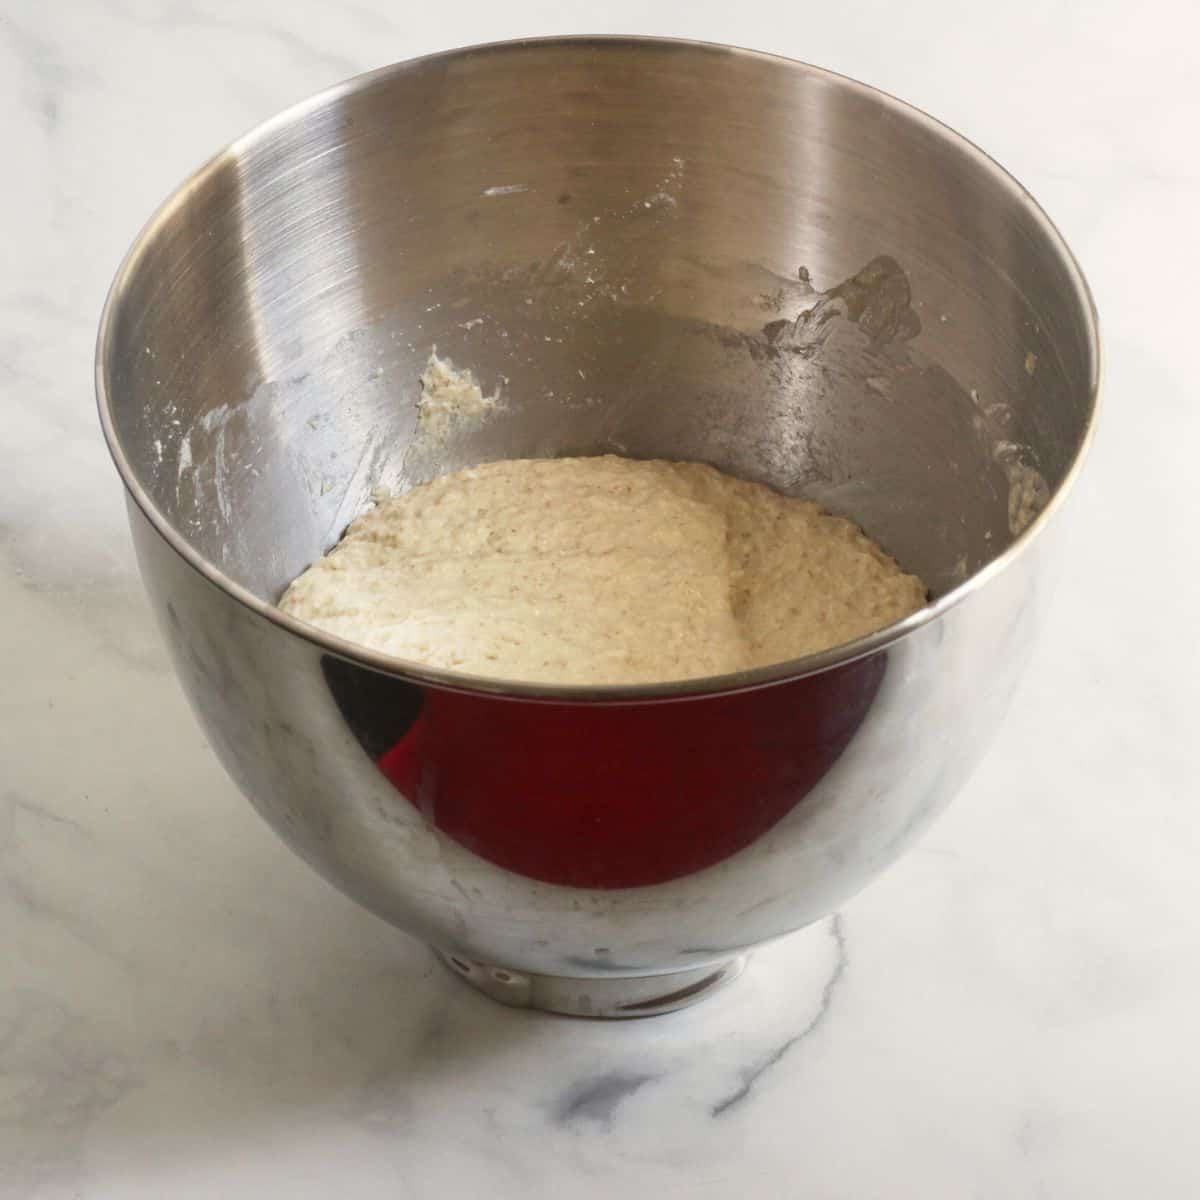
The dough should be moist and sticky, more like a thick batter rather than a ball of dough. It will thicken up as it sits to rise.
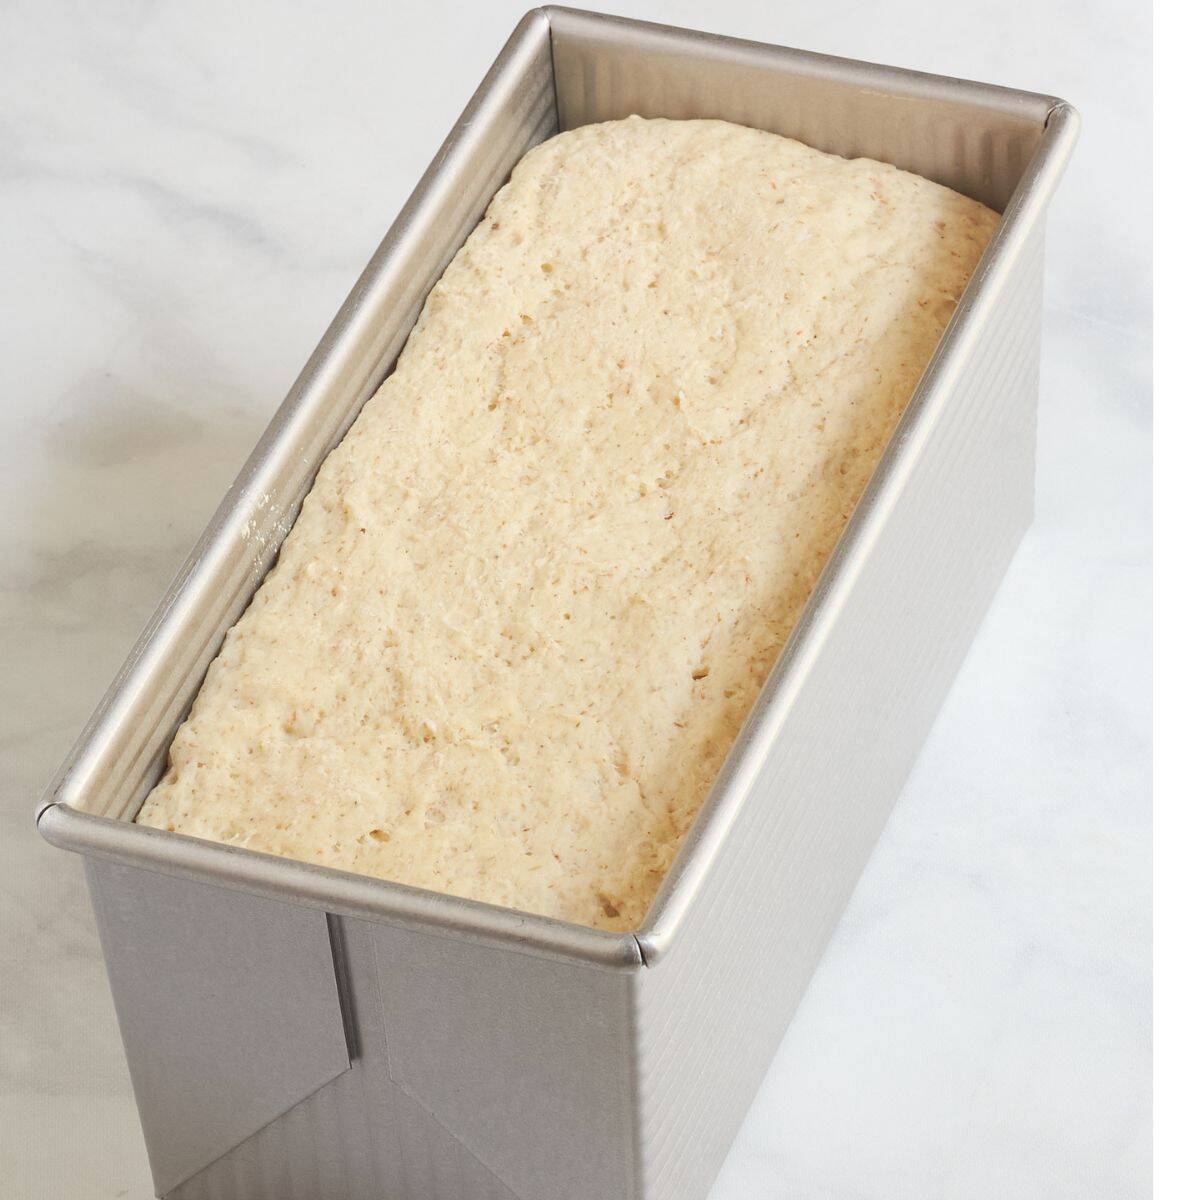
Scrape the dough into an oiled bread pan. Cover it loosely with a sheet of oiled plastic wrap to keep it from drying out, and set it in a warm place to rise for 45 minutes to an hour and 15 minutes, depending on the temperature of the room. It should increase in size by at least 50%.

Bake the loaf for 10 minutes at 450°F (232°C) with steam (explained in recipe card below). Reduce the temperature to 400°F (204°C) and continue to bake the bread for another 35 minutes or until done. Cool it on a wire rack.
Hint: It's important to allow gluten-free bread to cool completely before slicing to avoid gumminess.
Storage
This bread will keep well in a sealed container at room temperature for two or three days.
It freezes well. Frozen slices will toast up very nicely. I recommend slicing the loaf before freezing, so it's easier to remove individual slices.
Top Tips for Yeast Bread Baking
Here are some tips to help you with successful gluten-free yeast bread baking.
- The temperature of the water should be 105°F (41°C) to 115°F (46°C) when it comes into contact with the yeast.
- Don't allow the liquid to be too hot, or it will destroy the yeast.
- An ideal environment for proofing bread dough is 75°F (24°C)to 85°F (30°C). Bread rises much better in a warm, humid environment.
- Don't allow the dough to get a chill or cold draft during the rising process. Protect it from cold air, such as from an outside door opening in winter or air conditioning vents in summer.
- Gluten-free bread doesn't need to be kneaded like wheat bread because there is no gluten to develop. It does need to be mixed until the batter is smooth and consistent, and the moisture is evenly absorbed. A stand mixer with a dough hook is ideal for this job.
- Weigh your ingredients for accuracy. Volume (cups) measurements can fluctuate wildly and lead to disappointing results.
FAQ's
Adding a little vinegar to gluten-free bread dough provides a slightly acidic environment, which the yeast likes. This helps the bread to rise better and have a more open crumb texture.
No, gluten-free bread does not need a second rise. In fact, it does better without it. The second rise is to develop gluten structure; we don't need to be concerned with that.
(As an Amazon Associate, I earn from qualifying purchases.)
Equipment
I like this loaf pan for creating a taller loaf. Because gluten-free bread lacks the structure of gluten, it needs to be contained by sides for it to "climb up" while it's rising.
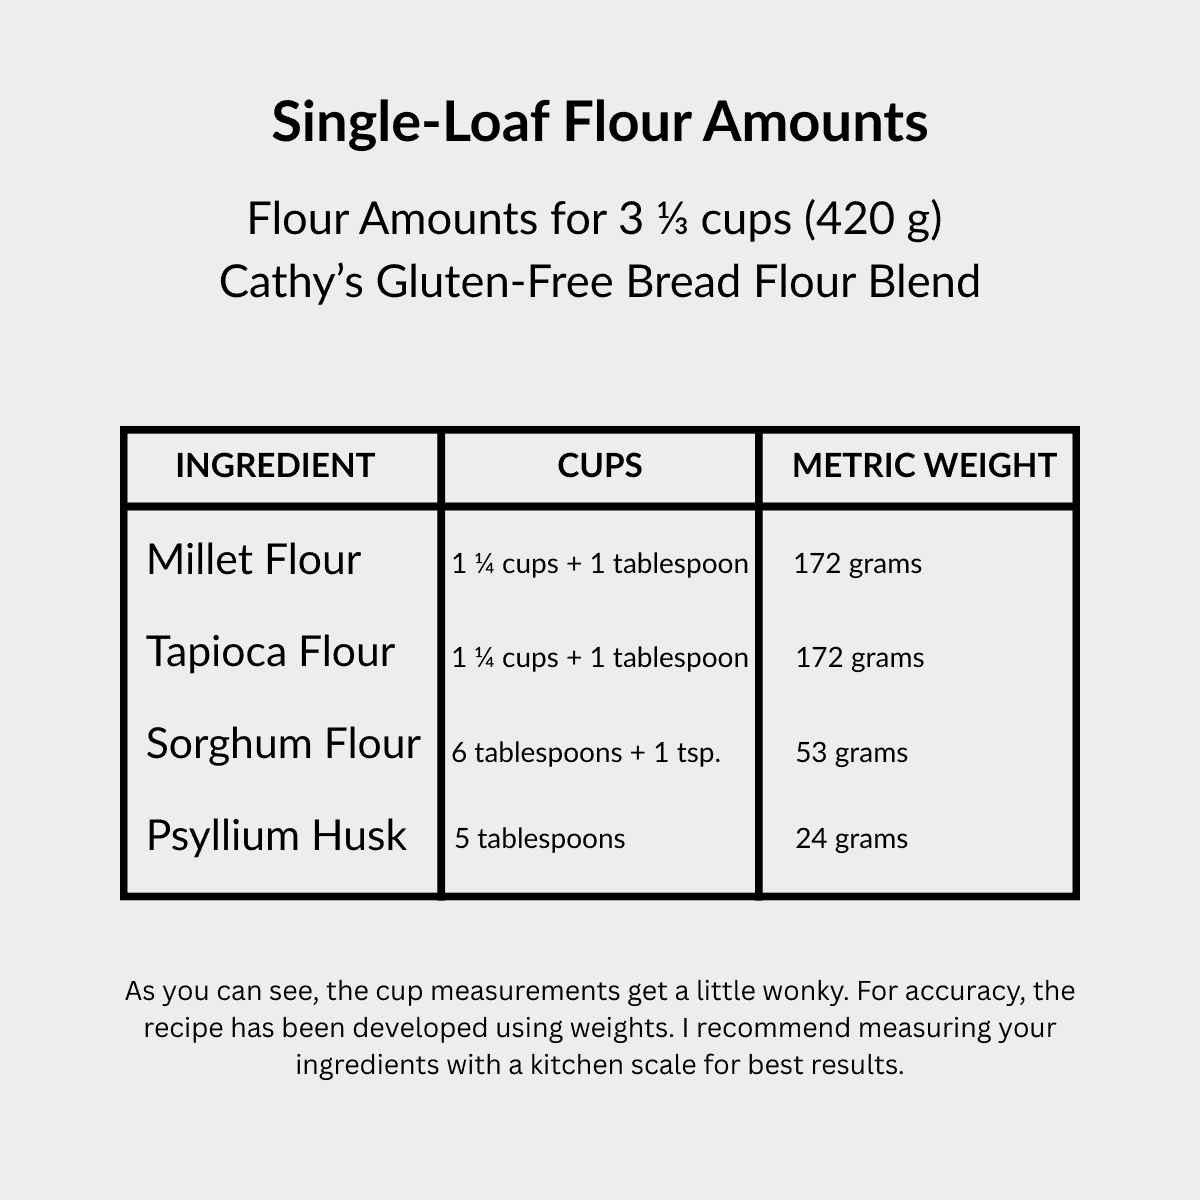
Gluten-Free Bread Flour Conversion
For your convenience, I am including this chart for a single-loaf-sized batch of my Gluten-Free Bread Flour Blend.
Recipe

Easy Gluten-Free Sandwich Bread Recipe
Equipment
Ingredients
- 3⅓ cups Cathy's GF Bread Flour Blend
- 2½ teaspoons instant yeast
- 2 teaspoons fine sea salt
- 1⅞ cups warm water (110-120℉) (43-48℃)
- 2 tablespoons honey
- 1½ tablespoons olive oil
- 2 teaspoons apple cider vinegar
Instructions
- Spray or wipe the inside of a metal loaf pan with cooking oil.
- In the bowl of a stand mixer fitted with a dough hook, whisk together the flour, yeast, and salt.3⅓ cups Cathy's GF Bread Flour Blend2½ teaspoons instant yeast2 teaspoons fine sea salt
- In a large liquid measuring cup, measure out the warm water. Stir in the honey, oil, and vinegar.1⅞ cups warm water2 tablespoons honey1½ tablespoons olive oil2 teaspoons apple cider vinegar
- Pour the liquid mixture into the dry mixture in the mixer bowl and run the machine on the second lowest speed for 4 to 5 minutes, stopping a couple of times to scrape down the sides of the bowl. The dough should be very soft and moist, but not stick to your fingers. Transfer the dough to your oiled pan.
- Cover the dough loosely with oiled plastic wrap and set the pan in a warm place to rise until the dough has almost doubled in volume (45 minutes to 1 hour and 15 minutes).
- If your oven has a steam option, use that and add the water now. Preheat the oven to 450℉ (232℃).
- Bake your loaf of bread in the center of your preheated oven for 10 minutes with steam. You can also accomplish a steam bake by adding a pan of ice cubes to the bottom of your oven.
- Remove the pan of ice. (The water in my steam oven has evaporated by this point.) Reduce the temperature to 400℉ (204℃), and bake for about 35 minutes more. The outside should be very golden brown and feel crusty when you tap it.
- Set the bread to cool on a wire rack. Remove it from the pan within 10 minutes of taking it out of the oven. Let it cool completelyefore slicing.
A.M. says
Can I make this recipe in a bread maker?
Cathy Brak says
You could try this in a bread maker if it has a gluten-free setting. Add the ingredients in the order specified in the instructions, usually the liquids first with the flour and yeast last. When a bread maker is used on its usual wheat-bread setting, it proofs, or rises, twice. Gluten-free bread rises only once. That's why the gluten-free setting is important.
Jeremy says
This tastes just likes some of my favorite wheat based breads that I used to enjoy when I was eating gluten. Thanks for another perfect and easy recipe. The recipes I've made of yours have been everyone's favorite and they are by far the most straightforward that I've approached.
Cathy Brak says
Thank you for sharing your positive feedback, Jeremy!
Cathy Brak says
I love how easy it is to make this bread and how well it turns out!