
The rail fence was the priority at our Hideaway the second year we owned it. The previous owner had cleared a building site in the centre of the property. We were fortunate enough to have inherited a big pile of rails, presumably from the trees that had been cut down. Charlie decided to use them to build a rail fence along the perimeter of the lot.
He had a couple of hours per weekend about once a month to work on this fence. There are many other things to do when we're at our Hideaway. Sometimes we have friends or family visit us. Sometimes we go to visit family in the area. After all, this was supposed to be our relaxing weekend place! We had decided to just let the unfinished bunkie sit that year and focus on the fence.
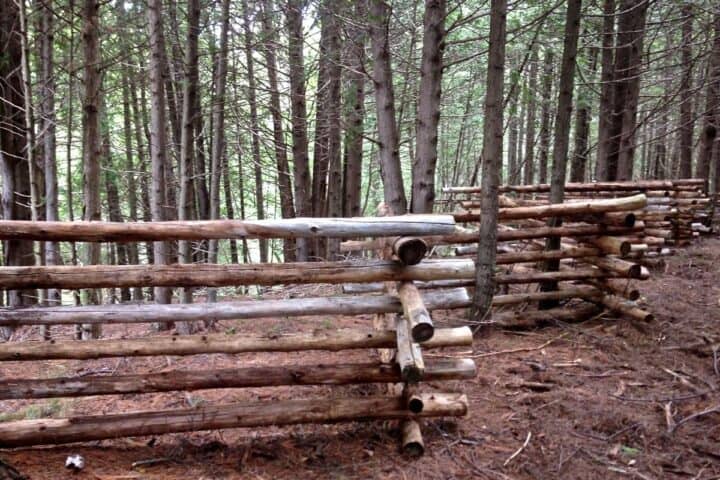
Traditional rail fences were called split rail fences. They were built of rails from larger logs which had been "split" lengthwise to form rails similar in size to our posts. Typically split rails would have been 10 to 12 feet long. The fences formed a zigzag pattern with the rails resting on each other, and that's how we built ours.
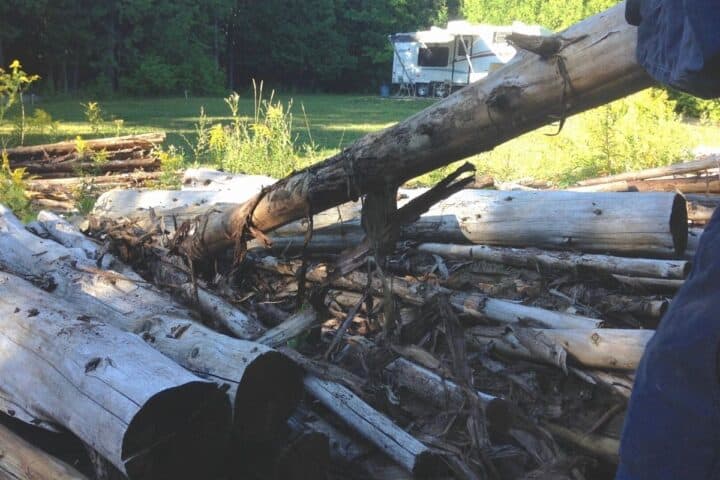
Charlie peeled the bark off our rails before using them. Most of it was falling off anyway.
To build a rail fence on clear level ground, start by putting up a string to mark one edge of your fence. Otherwise, your fence could very easily wander off course. We determined the edge of our property and put our string there.
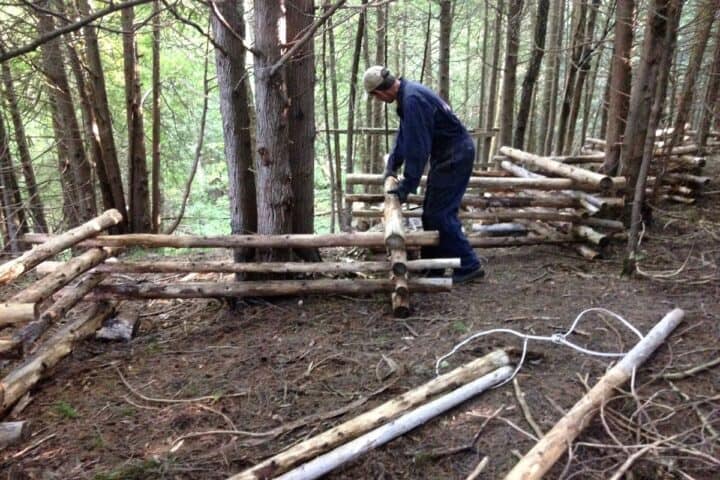
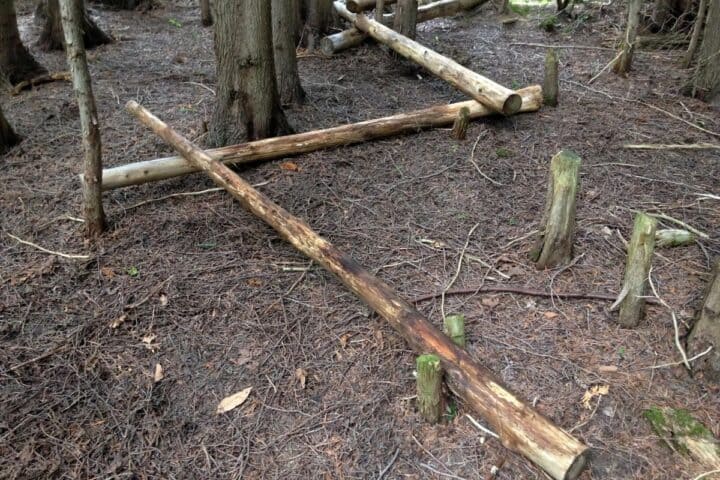
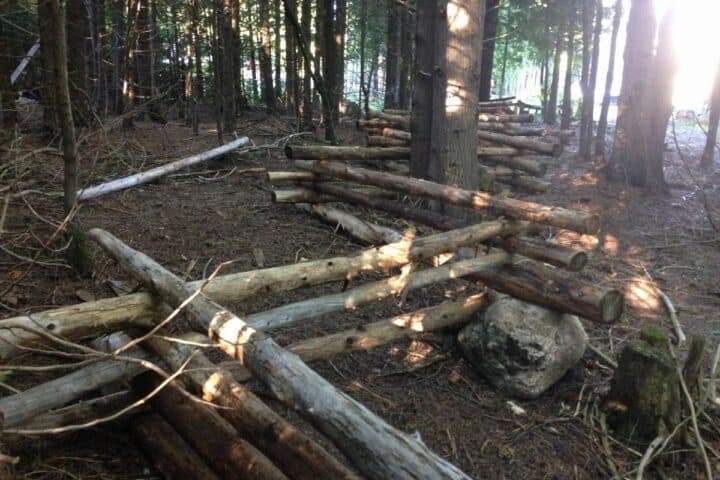
Then lay out your first row of rails somewhat like this. These first ones will form your base.

Next, lay out your second row with the ends resting on top of the first ones. Your rails might form a 90-degree angle, more or less. Don't make the angle too large, or your fence will not be stable.

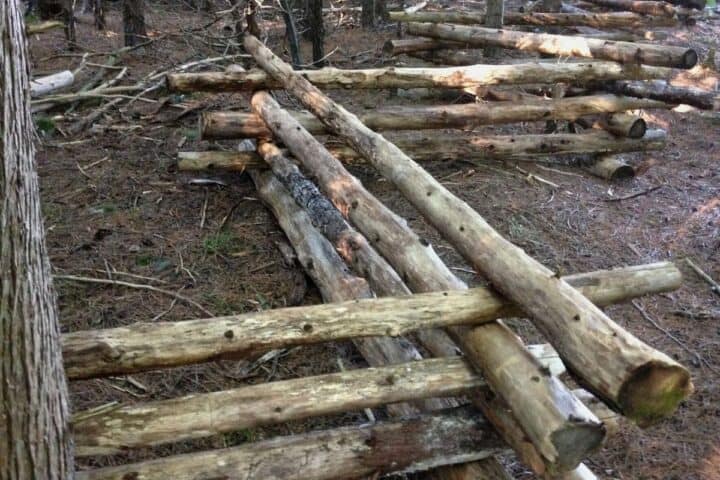
The third row gets easier. Place these rails above the first ones so they rest on the second row. Continue on in this pattern until your fence reaches the desired height.
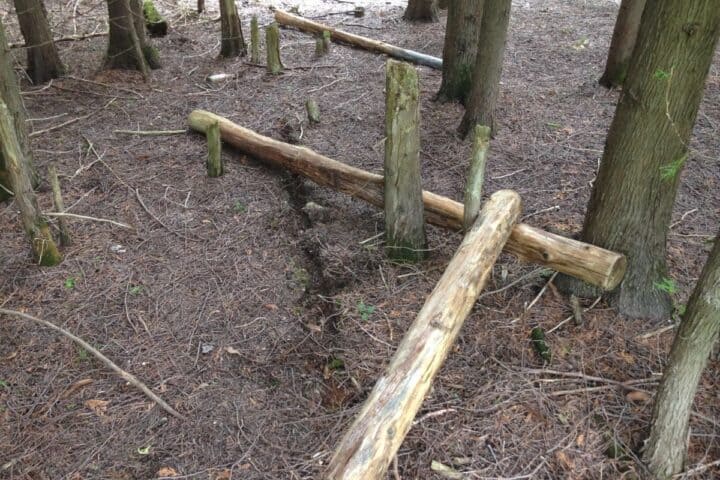
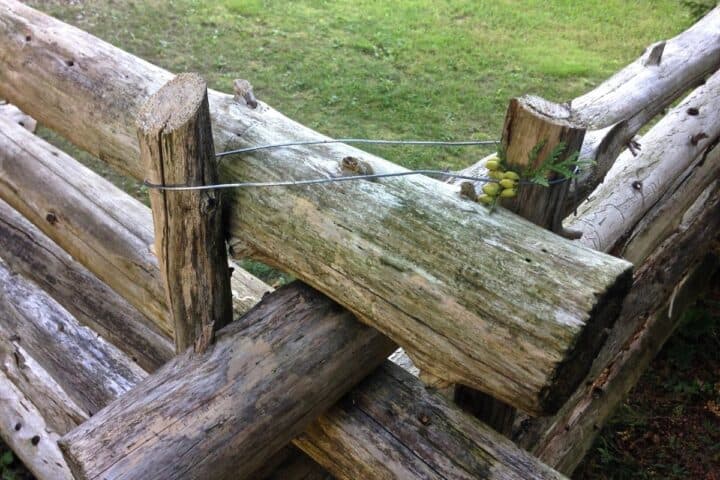
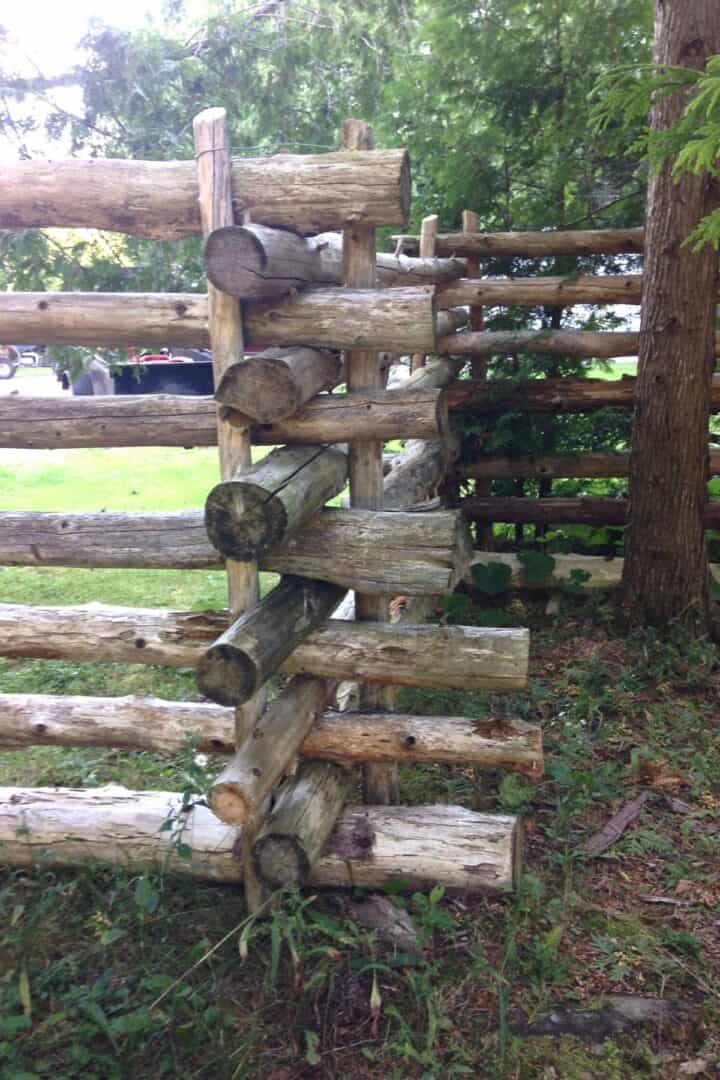
Once full height was reached, Charlie stabilized the fence with two stakes at each corner.
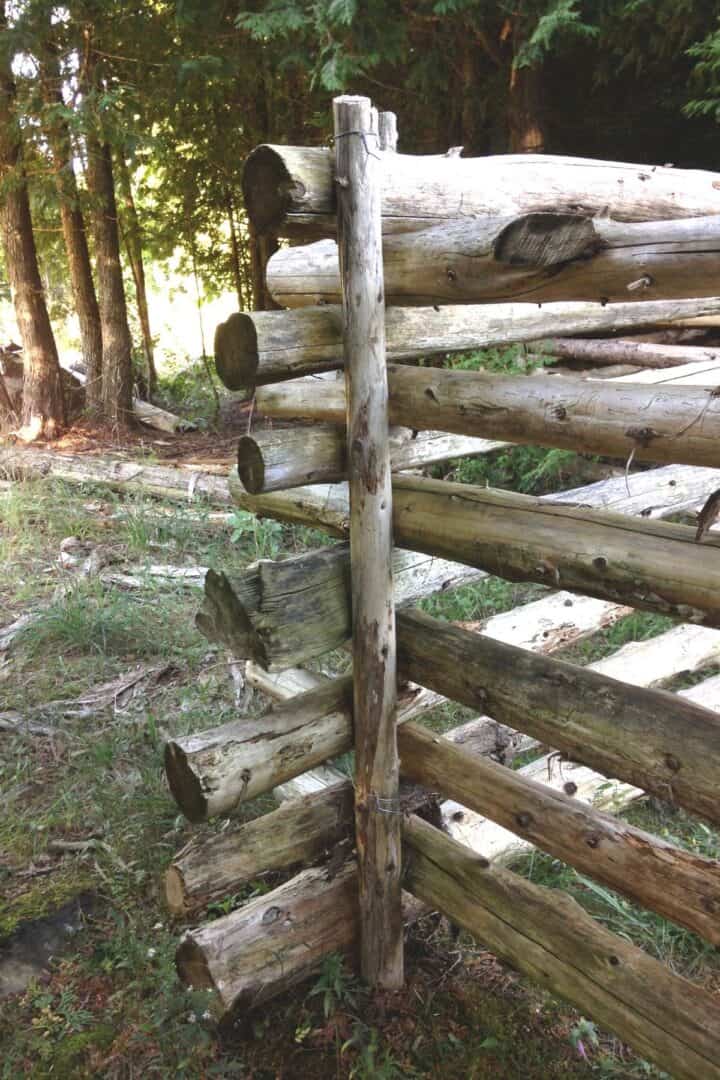
He wired them together at the top and bottom. They weren't driven into the ground because it is so rocky.
Obstacles
There were several obstacles in the way of our fence, so Charlie had to be creative as he worked around trees, rocks, and hills.
Sometimes, he would choose especially long or short rails as needed to work around an obstacle. To go up or down hills, he might depart from the basic pattern. In some places, he would arrange to have a rock or block of wood under a corner in an attempt to keep the fence level.

Our rails were of random lengths, so he had to be careful not to start off with a bottom one that was too long and be forced to find enough other rails just as long to complete the section above it.
Most of our rails were thicker on one end than the other, so he had to work with that, whether alternating thick ends in a level area or placing all thick ends on the downhill side of a section.
It's pretty in winter, too!
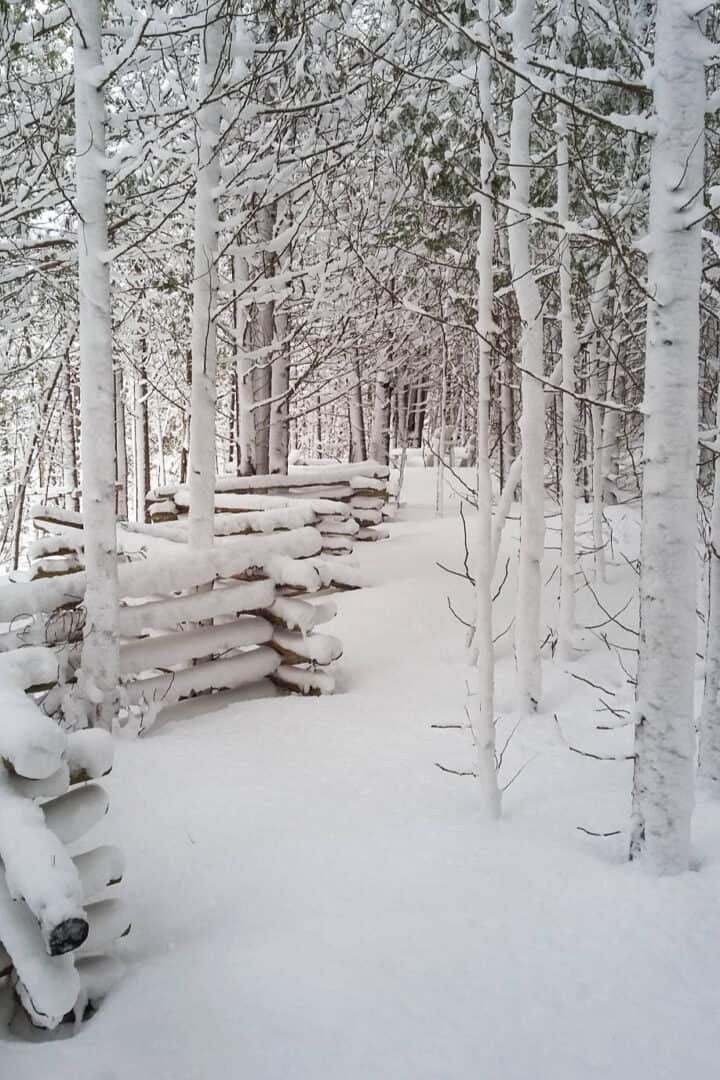
I think the fence really enhances our property. If you build a rail fence, I'd love to hear about it!
Eric Ridenour says
I simply love this, we are in the planning stages of ours. We plan on using the old split rails from our fence line in some sections of ours. Thanks for sharing!
Cathy Brak says
You're welcome! Enjoy your fence!
Yvonne Baker says
THANK YOU SOOOO MICH FOR SHARING THE STEP BY STEP DETAIL!! We have a small ranch in Seguin, Tx that I have been wanting to do this around the immediate front and back yard of house to keep the horses out. My husband trains horses and Im the wood worker lol! I love doing things like this, but wasnt quite sure how to go about keeping logs together to where it wouldnt take away from look, or I didnt have to drive a rod down the middle of ea corner log. I had seen this fence in a yard and was half tempted to stop in one day to ask them how they attached theirs. (They didnt do corner post like Charlie did.) I LOVE Charlies way of keeping them together!! Our horses are real good bout respecting even the slightest bit of a wire, rope or anything thats up so thats not an issue at all. Im So excited!! I havent seen "Charlies Rail Design "down here in S. Texas! So when I get going on it and get it up, I will have to post Thanks to "Charlies Rail Design" & send a pic to yall!
Cathy Brak says
Wonderful! I would love to see a picture when yours is done!
Sarah says
Thanks for sharing your process! Your rail fence looks awesome, great job! My husband and I recently got our fence redone by a local contractor. We choose a composite fence, but I love the way rail fences look. You are way more handy than us- I don't know what we would have done if we had to create and install a fence ourselves haha!
Cathy says
My husband is the handy one when it comes to things like fences, so I appreciate that! I'm sure you will enjoy your new fence.
Jay says
I absolutely love what you did to build your fence. Question. What happens at the very bottom of the wood closeat to the ground? How is that preserved so as not to fall apart from moisture?
Cathy says
I'm sorry for the delay in getting back to you on this! I wanted to run your question by my husband before answering. He puts either a stone or a sacrificial piece of cedar under any piece that touches the ground. If he uses wood, it can be replaced when it becomes rotten.
Greg McMillan says
What kind of logs were they? Pine? Oak?
Just curious because I’m thinking of making one out of pine as there are plenty to cut 4-5 inch
Cathy says
Ours were cedar logs. That's just what we happened to have. Good luck with your fence!